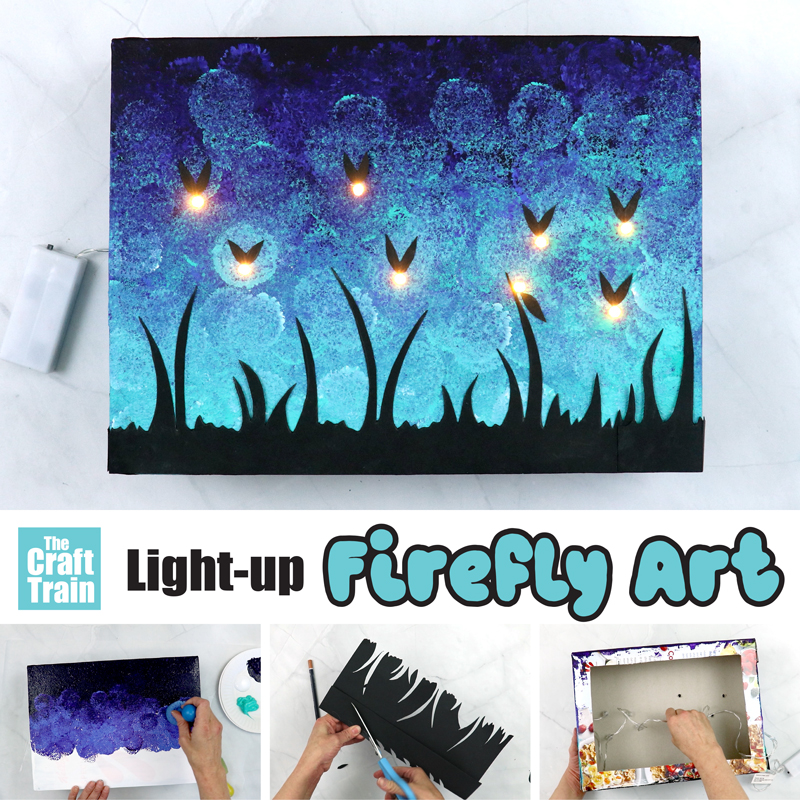
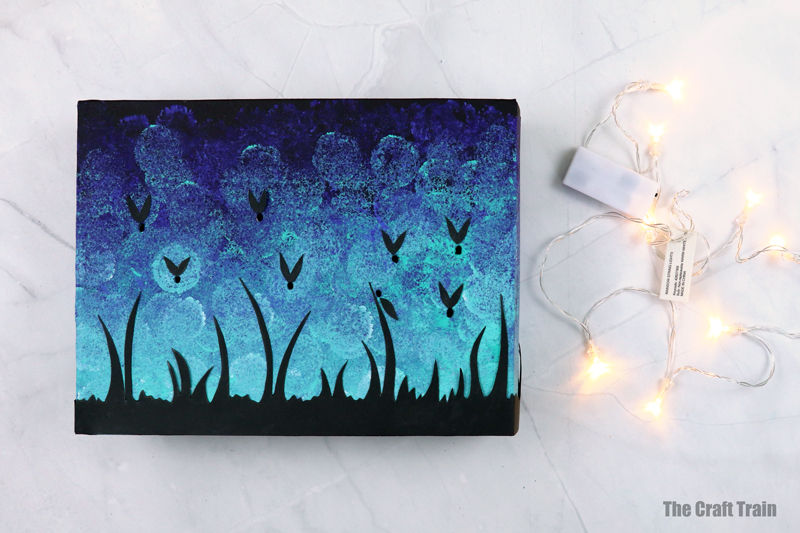
Today we’re sharing a DIY firefly art idea that doubles as a cereal box upcycling project. Best of all, it lights up just like real fireflies!
This craft is suited to older kids, tweens, teens, and adults — although there is no reason why younger kids couldn’t make it with a little help too. You will just have to do the hole-poking with a skewer part for them, and maybe some of the fiddly cutting out as well.
You might also like our light-up egg carton reef

Have you ever seen a firefly? They are incredible little bioluminescent insects, meaning they make their own light.
They’re not common in Australia and I’ve never seen one in person, although I have walked through a tunnel full of glow worms (which are the larvae of fireflies). They sparkled like stars all over the roof and walls of the cave, just like magic.
When researching this project I discovered that fireflies are actually beetles, not flies. Globally, there are over 2000 known species of them and they can be found on every continent except Antarctica. I didn’t know this! Who said crafts can’t be educational too?
Like many people, when I visualise a firefly I picture a mason jar filled with them like a living lantern. But they don’t really belong in jars, so I decided to create a firefly scene over a twilit sky.
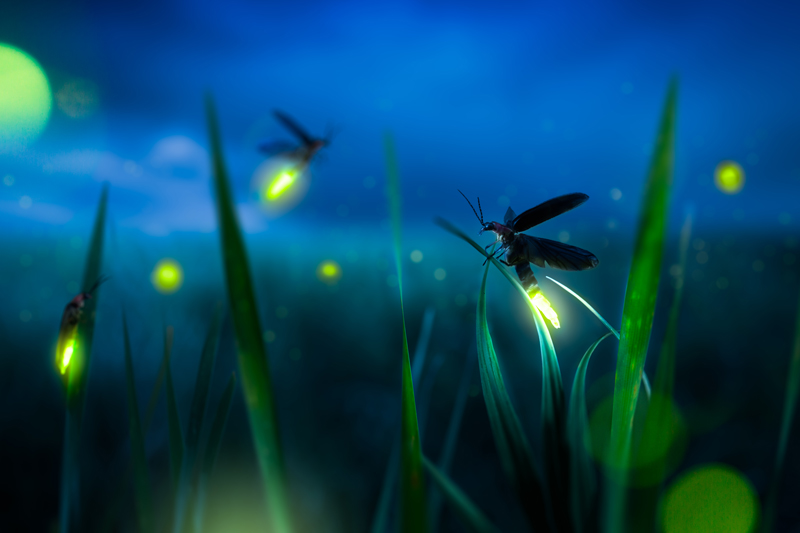
If you’re like me and have never seen a firefly, here is a stock image I found to use as inspiration for my art project. The fireflies are silhouetted against the evening sky and their tail-end glows like a beacon. The light they give is actually a mating call, and the colour of the light can vary from species to species.
About the LED lights we used
To make our light-up firefly art scene, I used a set of LED fairy lights I bought in the party section at K-Mart. They didn’t have plain fairy lights in stock, so I bought some that had plastic rainbows over each light. I pulled these off to get the plain set of eight fairy lights with a battery-operated switch.
You might have a set of lights packed away with your Christmas decorations, or a novelty set somewhere leftover from a kids’ party. If you do, then upcycle them rather than buying a new set. It’s better if your string of lights has a battery-operated switch so that you can tuck it inside the box to hide it completely from view.
The finished cereal box artwork can stand up on its own and makes a cute Summer-themed decoration.
Ours turned out so pretty, I think it’s one of my favourite projects ever!
How to make a light-up firefly art scene
You will need:
- A large cereal box
- A set of battery-operated LED fairy lights (our string has 8 bulbs).
- Acrylic paint in white, aqua, blue and indigo (or dark purple)
- Paintbrush
- Round sponge brushes, or alternatively a kitchen sponge cut into circular pieces
- Black card stock
- Glue
- Lead pencil
- Ruler
- Scissors
How to
Use a ruler to draw a one-inch (approx) border around the edge of your cereal box.
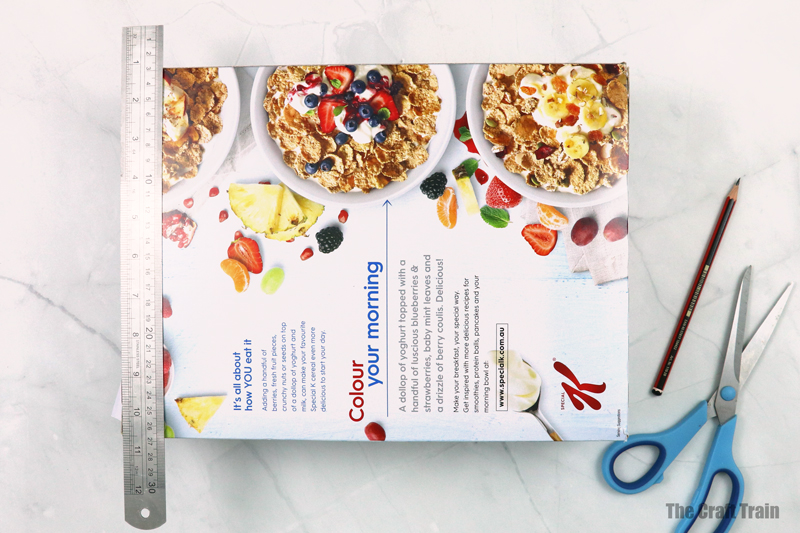
Us the line you have drawn as a guide for cutting out a window in the back of your box.
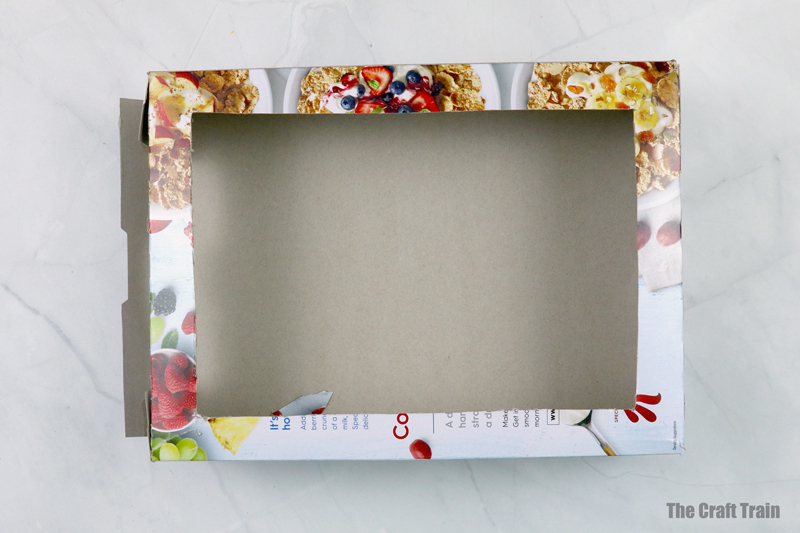
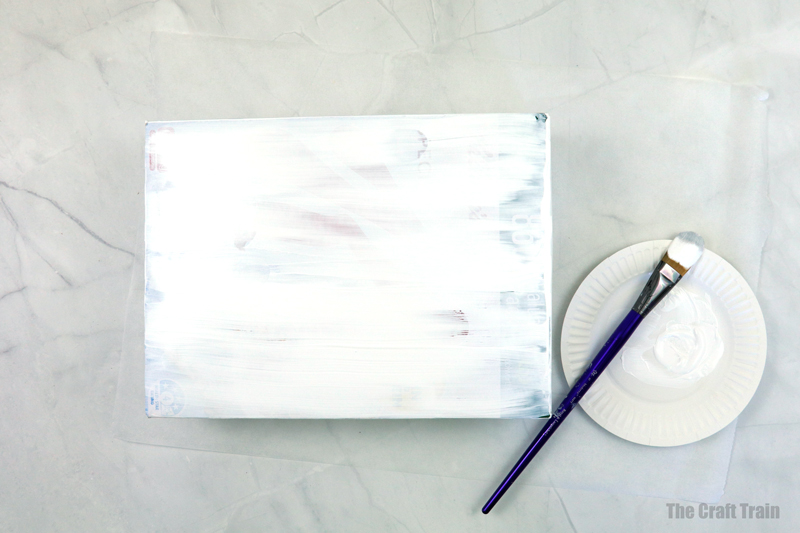
Seal the open end with glue or masking tape, then paint the front and sides white. The white paint undercoat will help the blue paint stick better to the surface of your box and it will also make the colours appear brighter and more opaque.
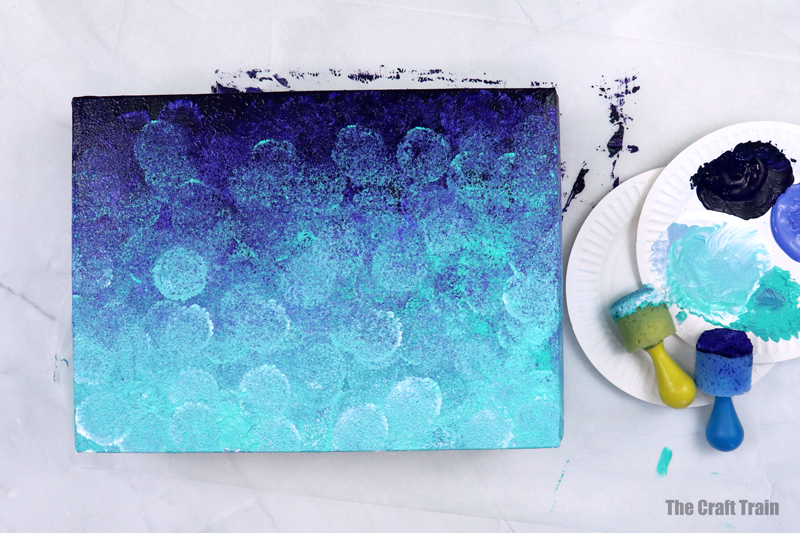
Use your round sponge brushes to paint a gradient of dark to light blue hues that go from the top to the bottom of the box. Also paint the sides.
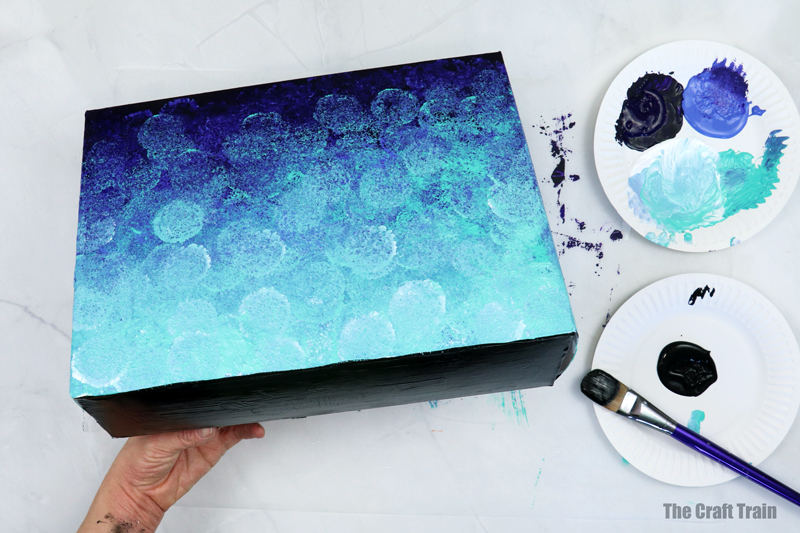
Paint the base of the box black (the base is the horizontal edge, seeing we’re making a landscape scene). You can paint the frame around the back too if you want, but seeing that this will be facing the wall I didn’t bother.
While that dries, create the grass and firefly silhouette shapes on black card stock. Use the lead pencil to sketch your grass, including both short and long pieces.
Depending on the size of your cereal box, you might need more than one strip of grass. I created two and then covered the entire bottom edge of the cereal box with these, cutting them to fit.

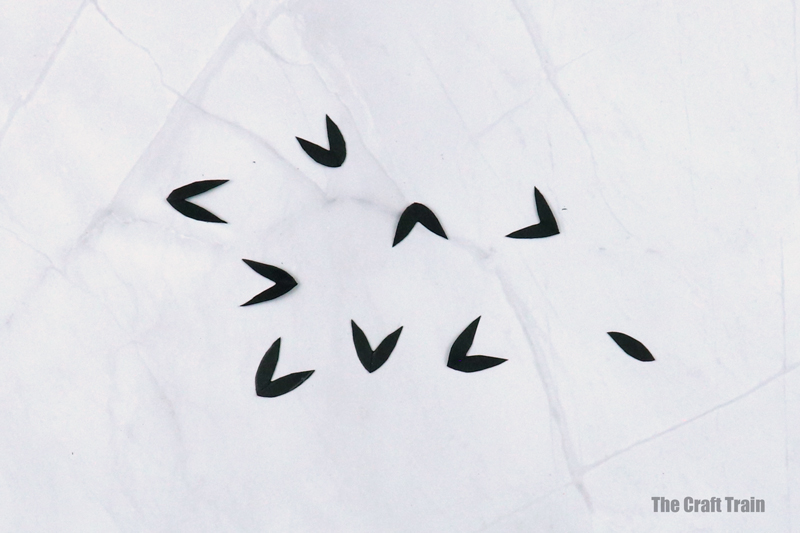
To make the fireflies, fold the black card stock and sketch a wing shape on an angle against the fold line. Cut out and unfold to make a firefly shape. If you want to put a firefly on a blade of grass somewhere in your scene, cut out just a single wing shape.
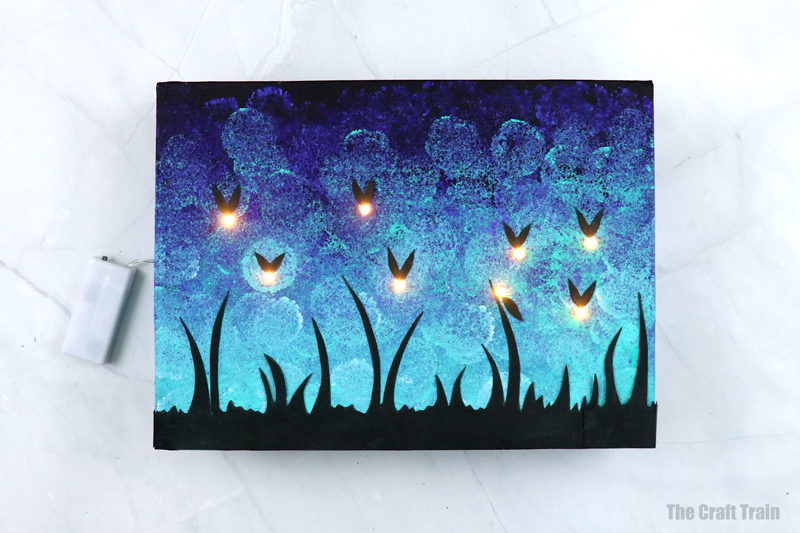
Note: Match the number of fireflies you create to the number of bulbs on your string of fairy lights. Our string has eight lights so I made eight fireflies.
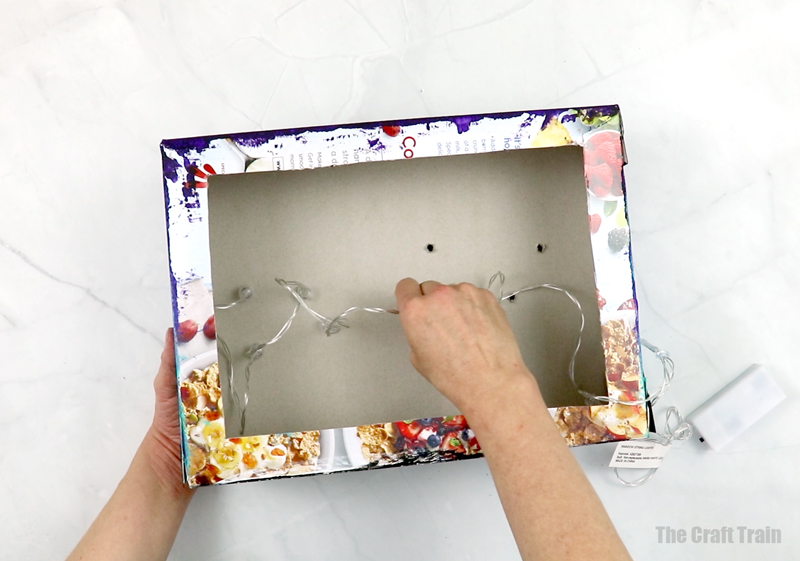
Once the paint has dried, glue the silhouette shapes to your box. Use a skewer to poke a hole for the LED light directly underneath each firefly.
To poke the holes, you need to support the cardboard surrounding that space with your hand. Be careful not to put your hand in the way of the skewer though because that could hurt! For kids, an adult may need to do this part.
Once you have made the holes, wiggle the skewer so that each hole is the approximate size of your LED fairy light bulbs.
Turn the box over and poke a fairy light into each hole and you’re done.
You can get as creative as you like with your firefly art scene – the sky is the limit!
More fun ideas for older kids and tweens: