This post may contain affiliate links. I may receive commissions for purchases made through links in this post at no cost to you.
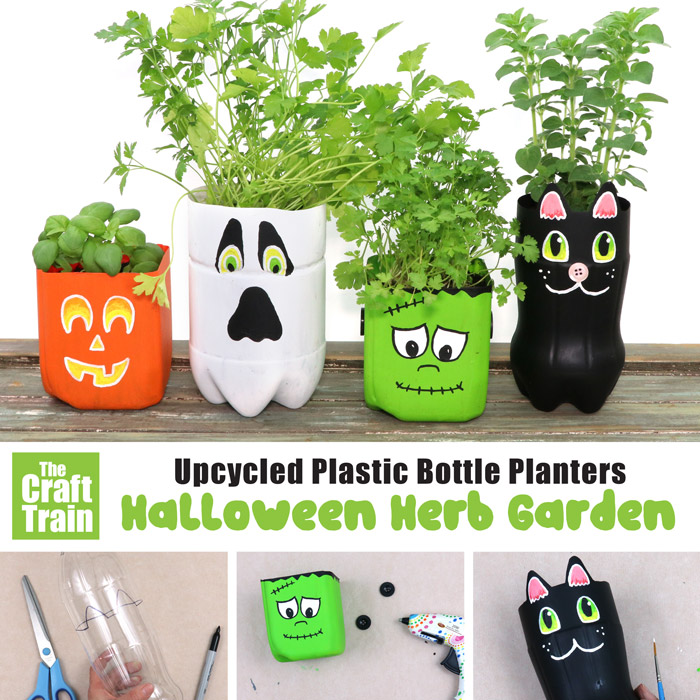
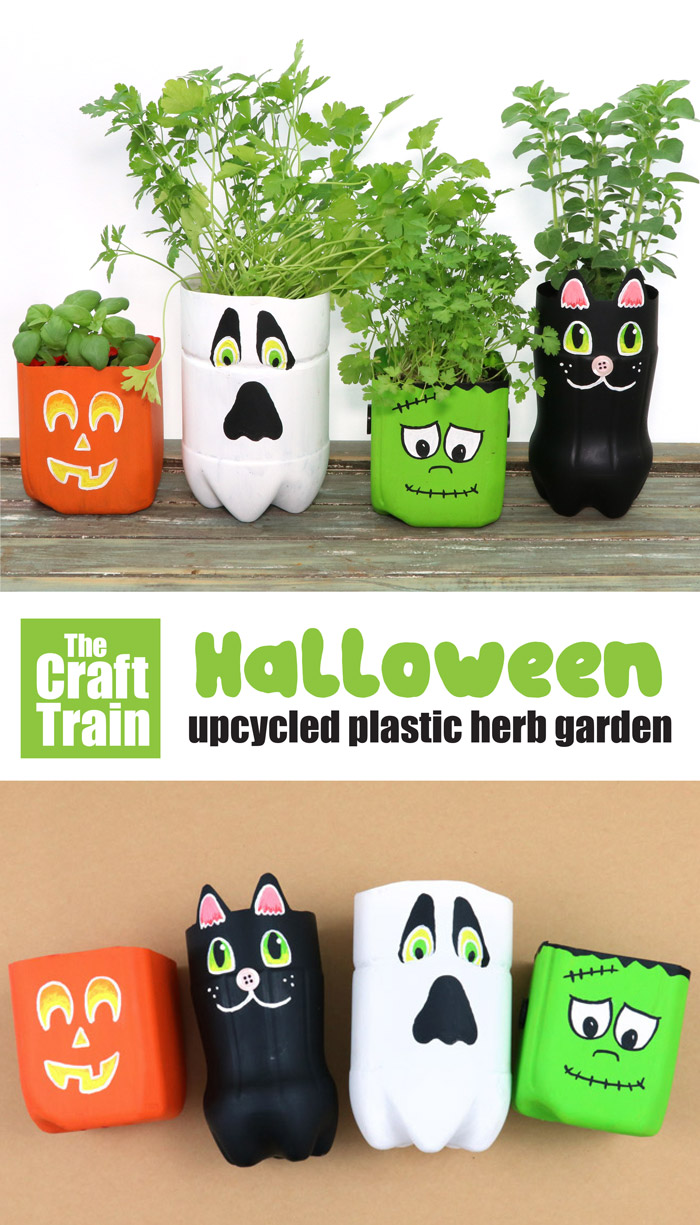
Here’s a fun upcycling idea, make a Halloween herb garden from recycled plastic bottle planters.
This is a great way to upcycle your plastic bottles into an environmentally-friendly Halloween decoration.
You might also like our paper roll ghosts
It’s that time of year again – time for spookariffic Halloween crafting… BOO!
It’s always with a twinge of guilt that I purchase drinks which come in plastic bottles because I know what a problem these are for our planet and I can’t help thinking about how this bottle will still be here when I’m long gone.
Of course, we rinse and recycle all our bottles so they don’t end up in landfill, but it still amounts to more used plastic piling up because of my family.
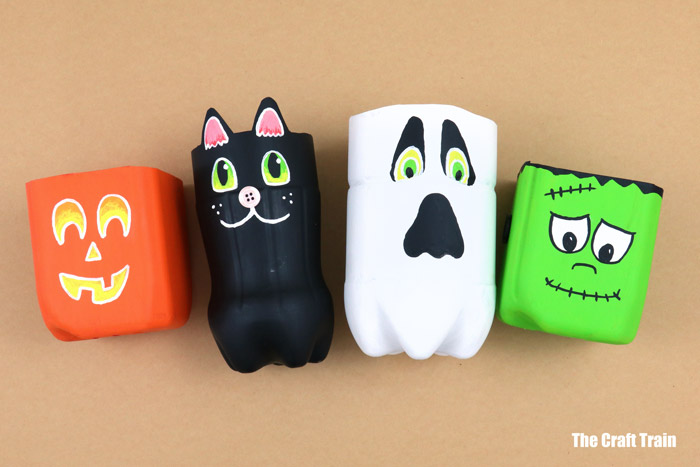
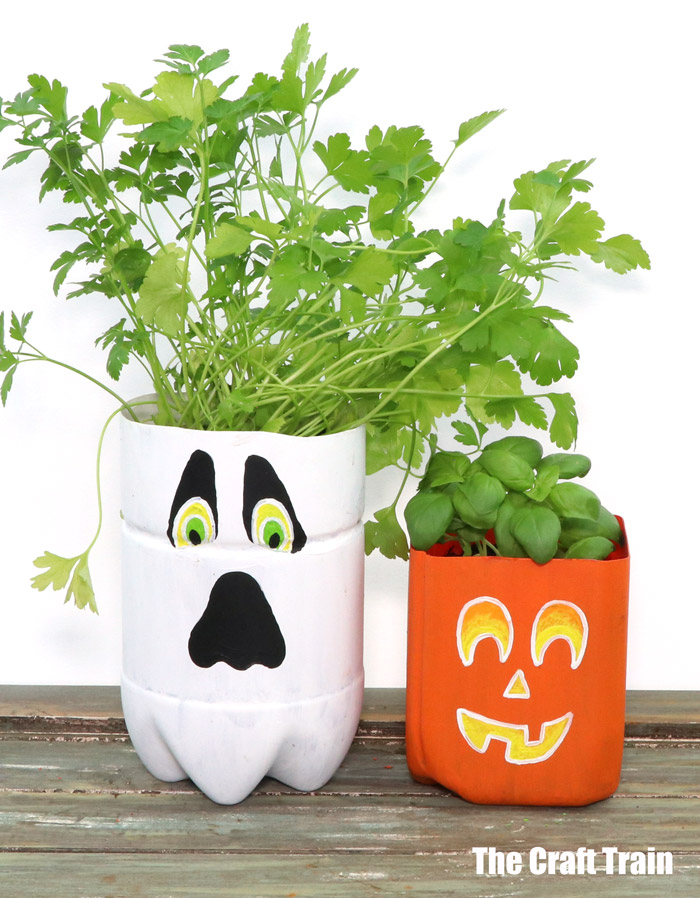
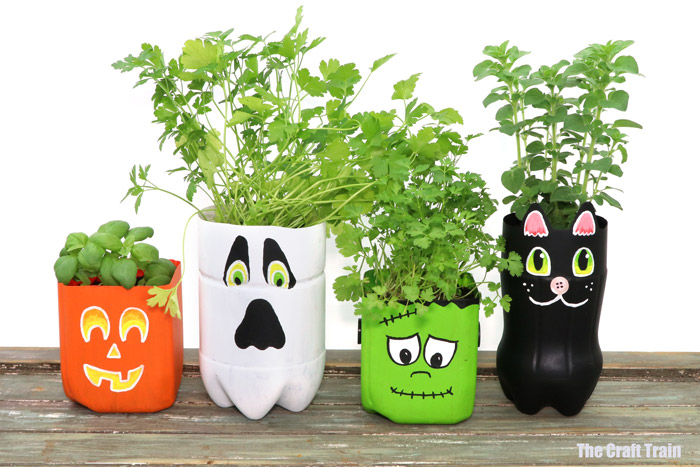
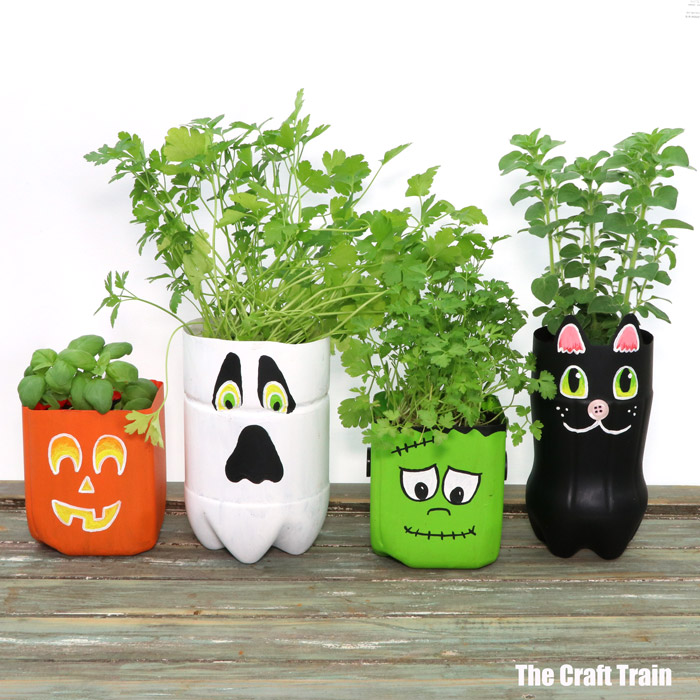
This year I decided to upcycle some of those bottles into plastic bottle planters which together create a herb garden for Halloween. Once you’ve planted the herbs inside they make cool green hair for your spooky characters.
I’ve mentioned before that I’m not the world’s most reliable gardener, but I do love to use fresh kitchen herbs in my cooking and we’re thrilled with how this Halloween herb garden turned out! It’s functional as well as decorative.
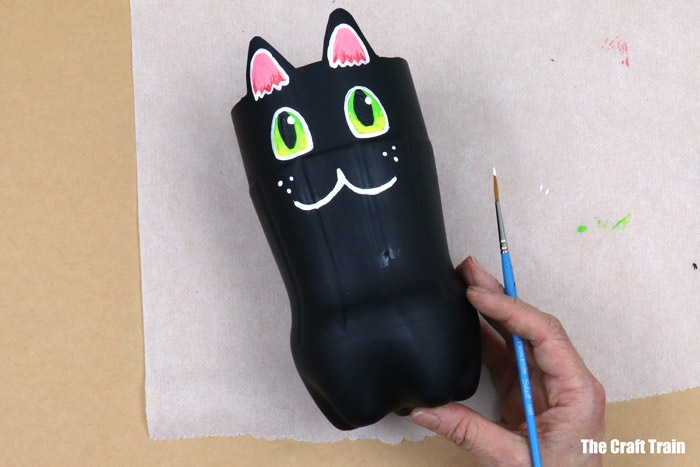
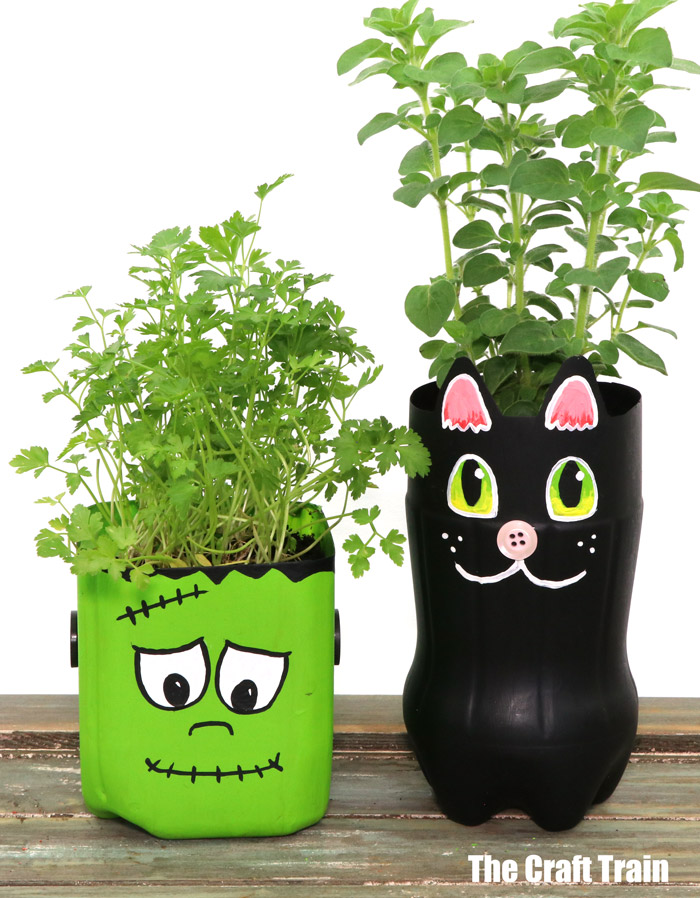
The black cat is my favourite, but don’t tell her that.
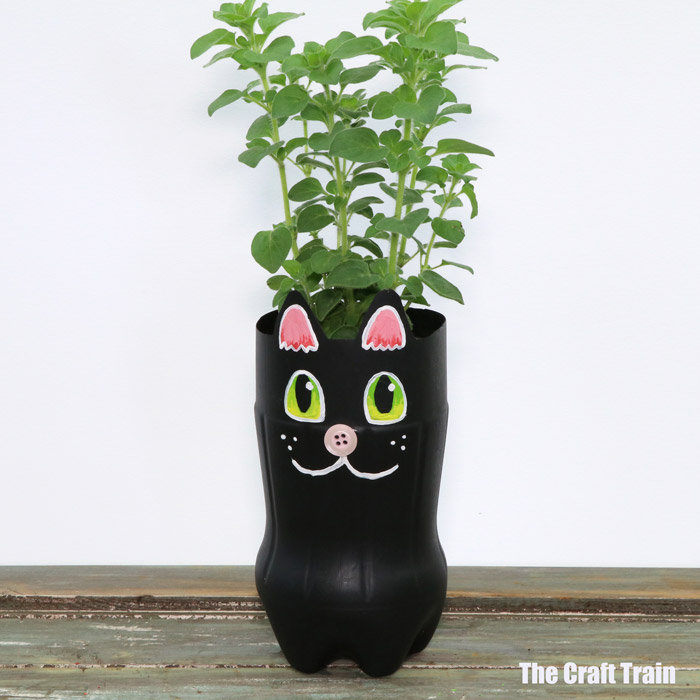
Want to make one? First you need to raid your recyclables bin for some suitable containers. We’ve used two milk jugs, a large soft drink bottle and a more shapely coke bottle for the black cat.
Painting the faces on takes time, a steady hand and patience, but if you have younger kids or are in a hurry I found this tutorial over at Hello Wonderful which provides printable faces for a set of similar Halloween-themed planters.
You can make just one planter or make them all. Scroll to the end of the tutorial for a printable set of instructions.
You will need
- plastic bottles in 1L or 2L size
- sharpie marker
- craft knife (an adult must do the steps which involve a craft knife)
- scissors
- acrylic paint
- PVA glue
- lead pencil
- buttons – optional
- paint brushes
- optional waterproof acrylic sealer (DIY mod podge could also work, but this is not designed to be weatherproof)
How to
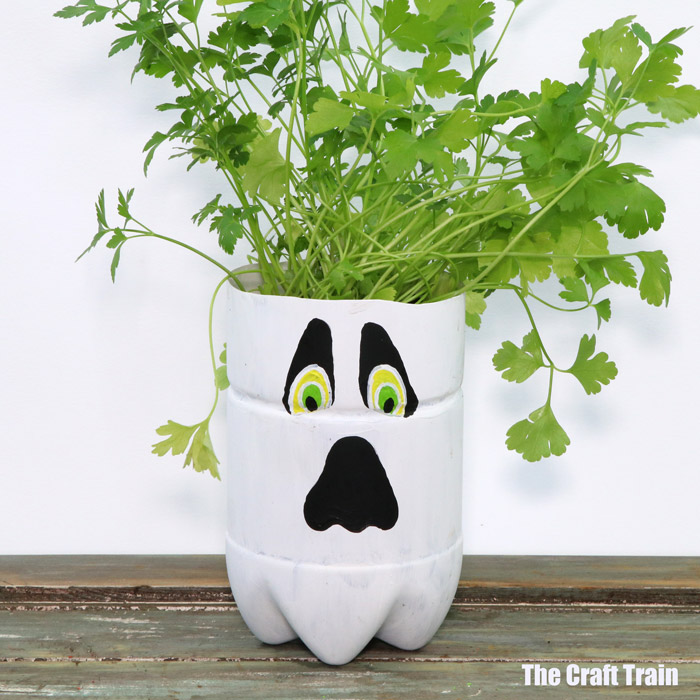
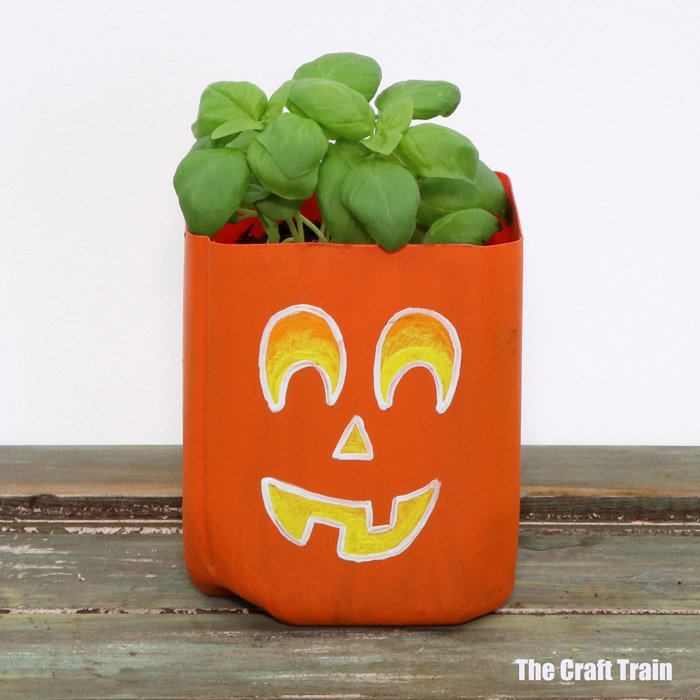
Draw a line with sharpie marker to mark where you want to cut the bottle. Make a straight line for Frankenstein, the ghost and the pumpkin, and for the cat draw two ears poking up at the front.
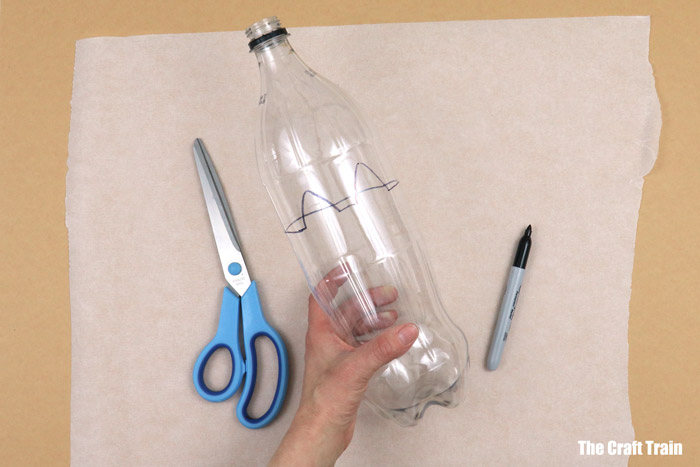
Make an incision with the craft knife, then use the scissors to cut along the line.
Turn the planter upside down and cut a few triangular holes in the base for drainage.
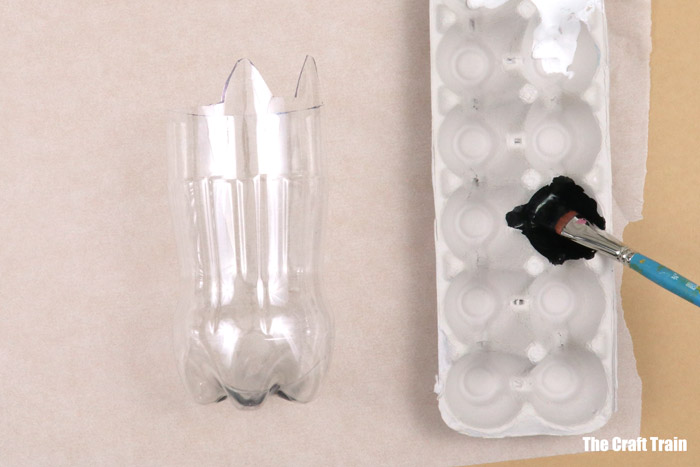
Mix acrylic paint and glue together at an approx 50:50 ratio, then use this to paint the bottle. The glue helps the paint stick to the plastic.
You will most likely need two coats of paint (paint the second once the first has dried)
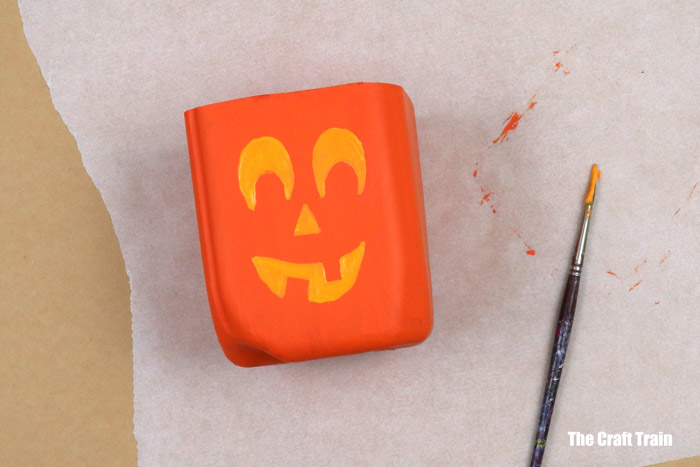
Sketch a face on the dry paint, then once you are happy with it go over the face with paint.

To create my faces I’ve painted first an undercoat, then a second coat of the features and incorporated some blending with the second coat.
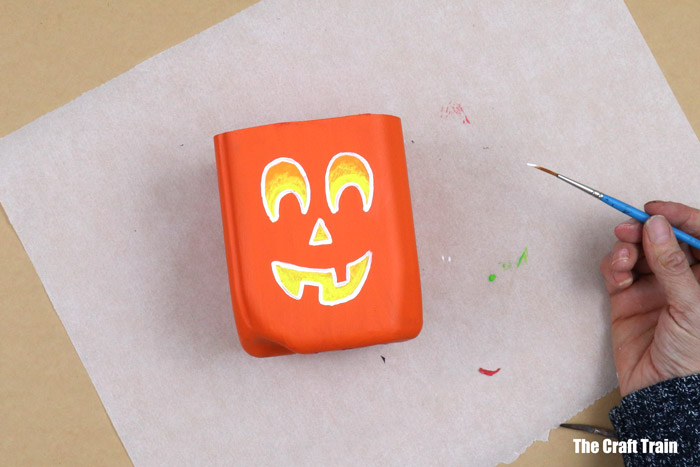
Once the second coat has dried, paint an outline on the face with either white or black paint.
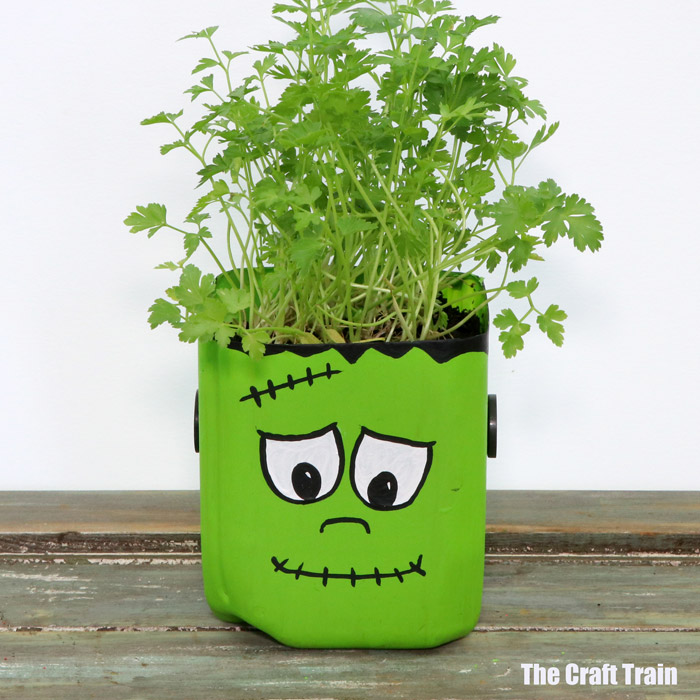
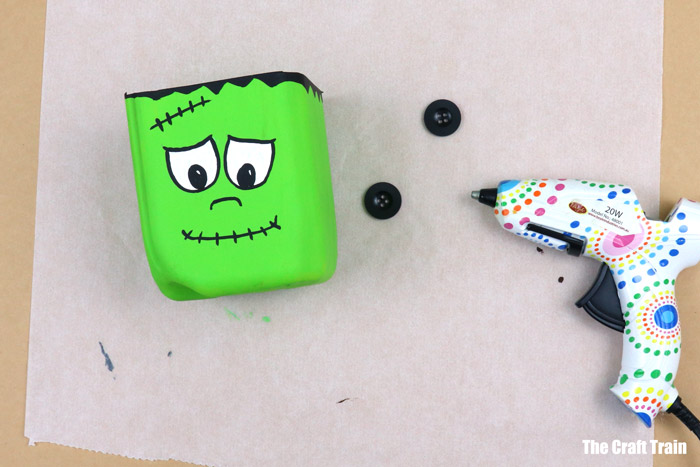
For Frankenstein and the black cat, I’ve glued on buttons. The image shows a hot glue gun, but I actually used PVA instead because my hot glue sticks were all gone. You could use either.
Once you’re happy with your planters it’s a good idea to add a sealer. I used an outdoor acrylic spray sealer I had in the cupboard (I can’t find the exact one on Amazon, but there are a few different brands there). I suspect DIY mod podge would work just fine too, but this is not intended to be a waterproof outdoor sealer so I could be wrong.
Plant with your favourite kitchen herbs. I’ve planted basil, flat-leaf parsley, coriander and actually I can’t even remember what herb is in the cat, but it looks good.
Garden themed books for kids
Now I just need to remember to water them!
Yield: 4 planters
Upcycle used plastic bottles into recycled plastic bottle planters for Halloween
Materials
- plastic bottles in 1L or 2L size – one per planter
- sharpie marker
- acrylic paint
- PVA glue
- lead pencil
- buttons – optional
- paint brushes
- optional waterproof acrylic sealer (DIY mod podge could also work, but this is not designed to be weatherproof)
- herbs and potting mix
Tools
- paint brushes
- lead pencil
- craft knife
- scissors
- hot glue gun
Instructions
- Draw a line with sharpie marker to mark where you want to cut the bottle. Make a straight line for Frankenstein, the ghost and the pumpkin, and for the cat draw two ears poking up at the front
- Make an incision with the craft knife, then use the scissors to cut along the line
- Turn the planter upside down and cut a few triangular holes in the base for drainage
- Mix acrylic paint and glue together at an approx 50:50 ratio, then use this to paint the bottle. The glue helps the paint stick to the plastic. You will most likely need two coats of paint (paint the second once the first has dried)
- Sketch a face on the dry paint, then once you are happy with it go over the face with paint. To create my faces I’ve painted first an undercoat, then a second coat of the facial features and incorporated some blending with the second coat
- Once the second coat has dried, paint an outline on the face with either white or black paint.
- For the Frankenstein and black cat planters, you can optionally glue buttons on to make ears on the Frankenstein and the nose on the cat
- Add a coat of weatherproof spray acrylic sealer
- Fill planters with potting mix and plant your favourite kitchen herbs in them
More decorative gardening ideas for kids