This post may contain affiliate links. I may receive commissions for purchases made through links in this post at no cost to you.
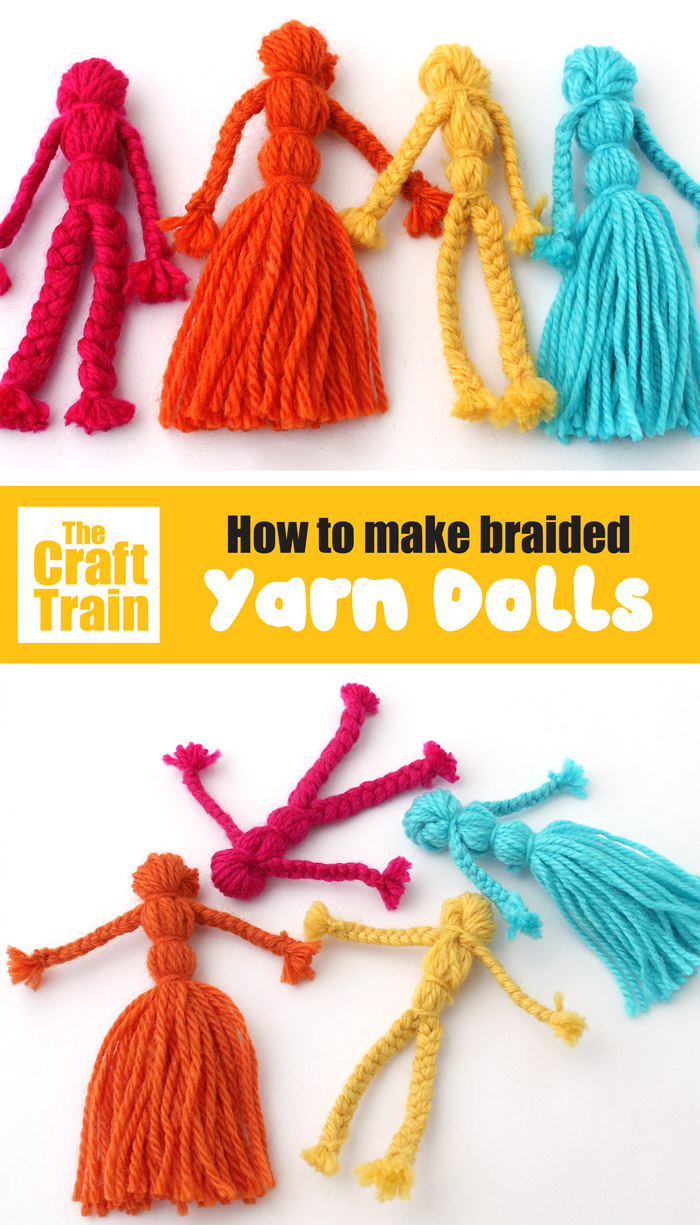
Today we’re showing you how to make classic braided yarn dolls. This is a simple, traditional craft which is fun and easy to make and the finished yarn dolls make great DIY toys or handmade gifts.
Perfect for indoor days when you need a low prep craft using materials you already have on hand!
This craft was originally published in 2015 and has been updated and re-shared for today’s audience.
You might also like these easy yarn crafts for kids
You may have made yarn dolls before, or remember having them made for you as a child. This craft is something that I’ve pulled from my memory vault of childhood crafts, but when I researched how to make them AFTER I made my own I realised that traditionally the heads are made using a different technique to what I have done here, but no matter, this way worked for me.
This is a great craft for older kids (8+ is a good guide), but you know your child and what they are capable of better than a written age restriction.
The best thing about making yarn dolls is that all you really need is YARN (well, not counting the scissors and cardboard scrap used for wrapping the yarn around), gotta love that! photos kinkyfag87

How to make yarn dolls
You will need
- Yarn
- Cardboard scrap (thick, heavy card is best, like what you’d get from a cardboard carton but I have used an old cereal box which is really a bit too flimsy for this purpose)
- Scissors
How To
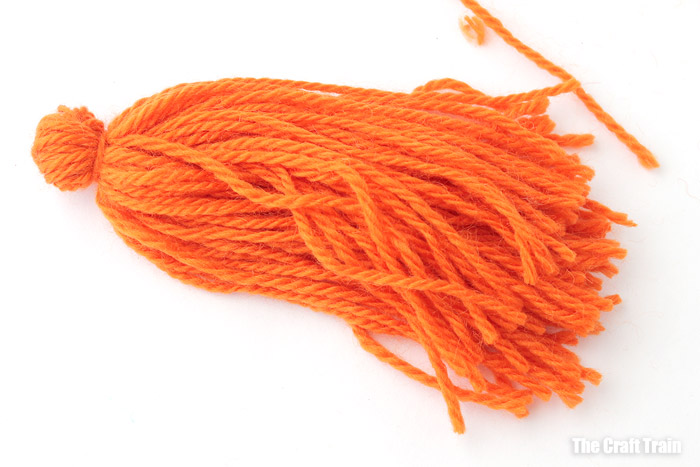
First wrap your yarn around and around the cardboard scrap. The card should be the length you want your doll to be.
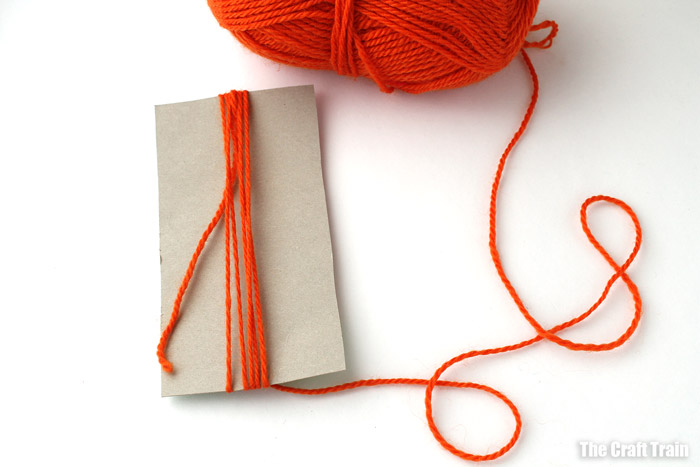
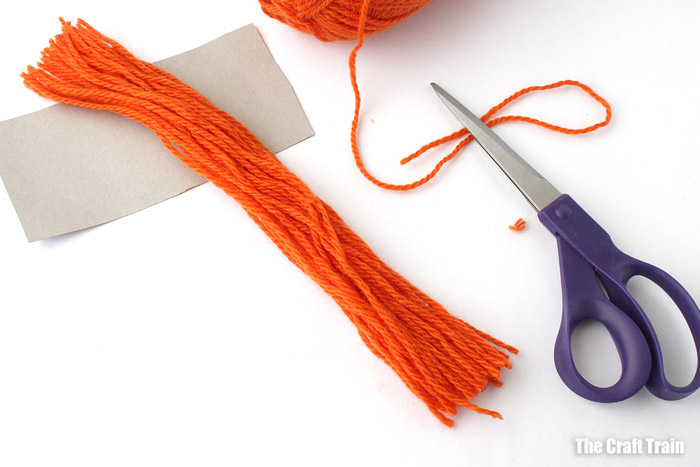
Once you’re happy with the thickness of it slide it off the card.

Snip ONE end so you have a long bunch of yarn pieces all the same length.
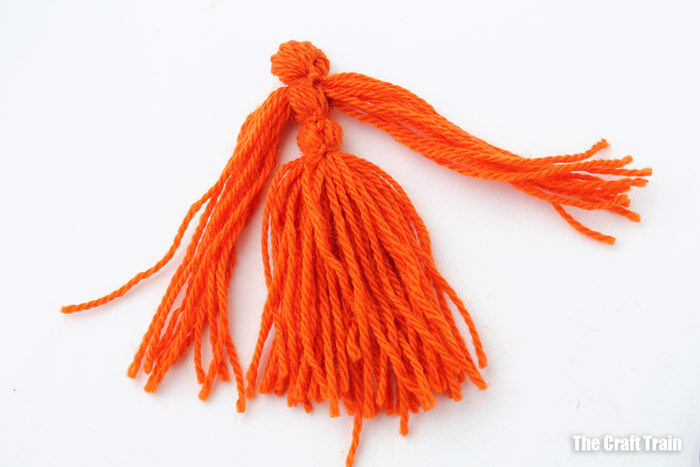
To make the head, twist the bunch once in the middle and fold in half, then tie tightly with a separate piece of yarn of the same colour.
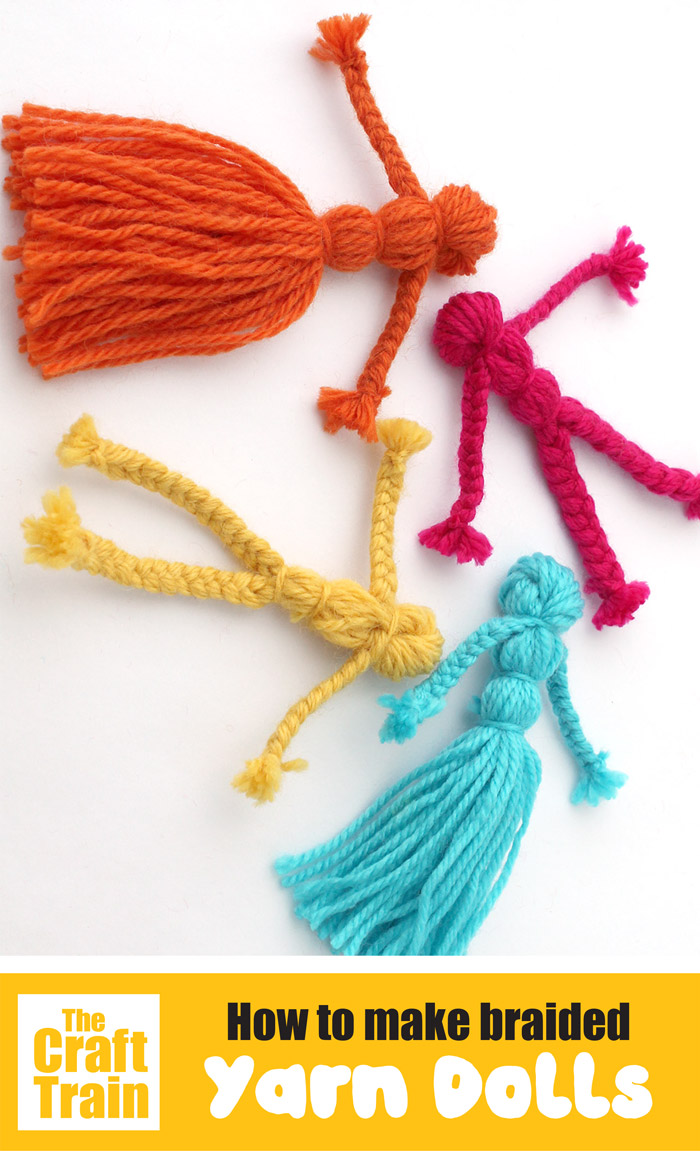
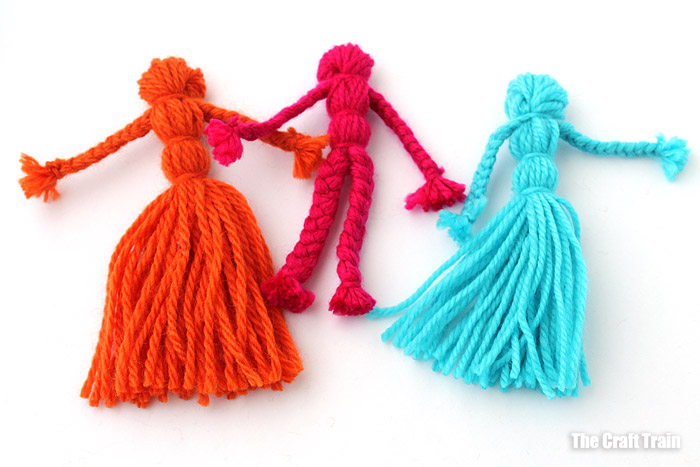
Once you have done that you need to divide the bunch into three parts, the two outside parts become the arms, and a thicker bunch on the inside for the waist and legs. Tie two more strands of string around the middle for the waist.
Braid and trim the arms, and if you want your doll to have legs braid some in, or simply give it a tidy-up trim and leave as is for a skirt.

Voila! Now make some more in different colours and you’ll have a pretty collection of them like we do, but watch out – yarn doll-making can be addictive!
More things you can make with yarn