This post may contain affiliate links. I may receive commissions for purchases made through links in this post at no cost to you.
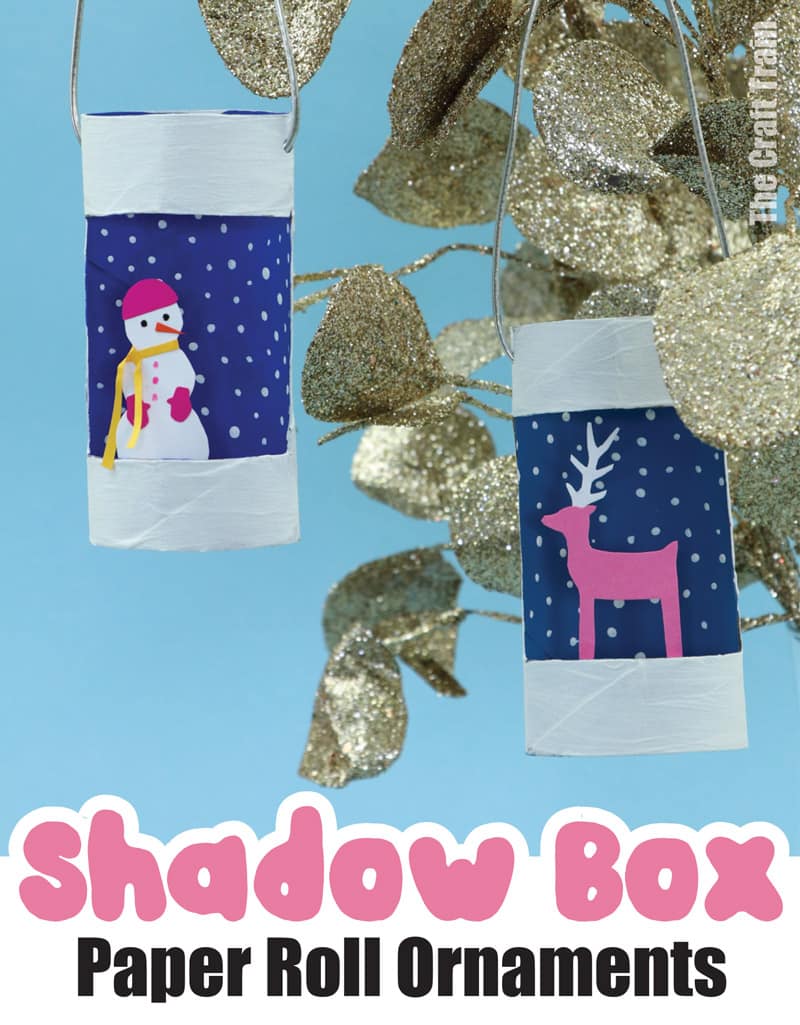
Make a gorgeous set of Winter shadow box ornaments from paper rolls. Free template available.
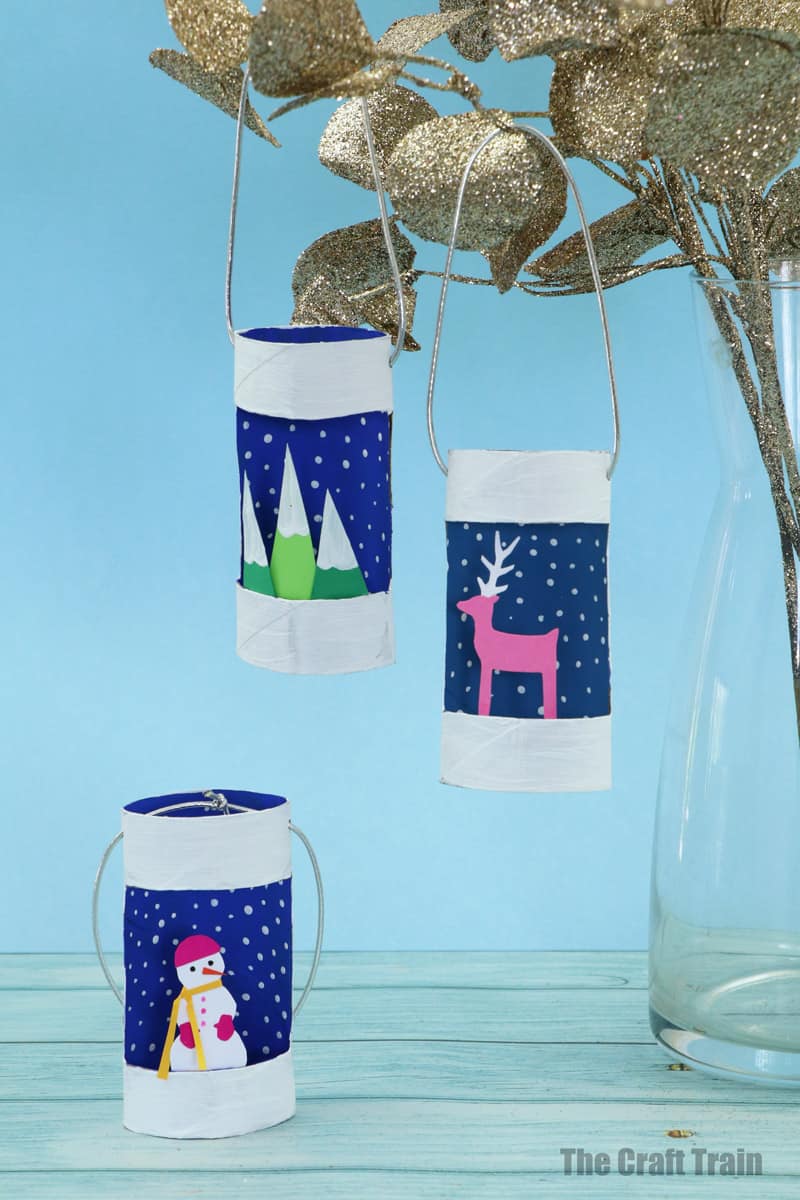
This is a fun recycling craft for all ages — adults included. You can make them as hanging tree ornaments or as a free-standing shelf decorations.
You might also like our Christmas paper craft collection
You know how much we love paper roll crafting here at The Craft Train! Today I have another idea for you: mini shadow box ornaments. They make both great Christmas decorations and easy Winter crafts.
Although paper rolls are not ‘boxes’ as such, they work the same way as a typical shadow box by giving your miniature scene a cool 3D appearance.
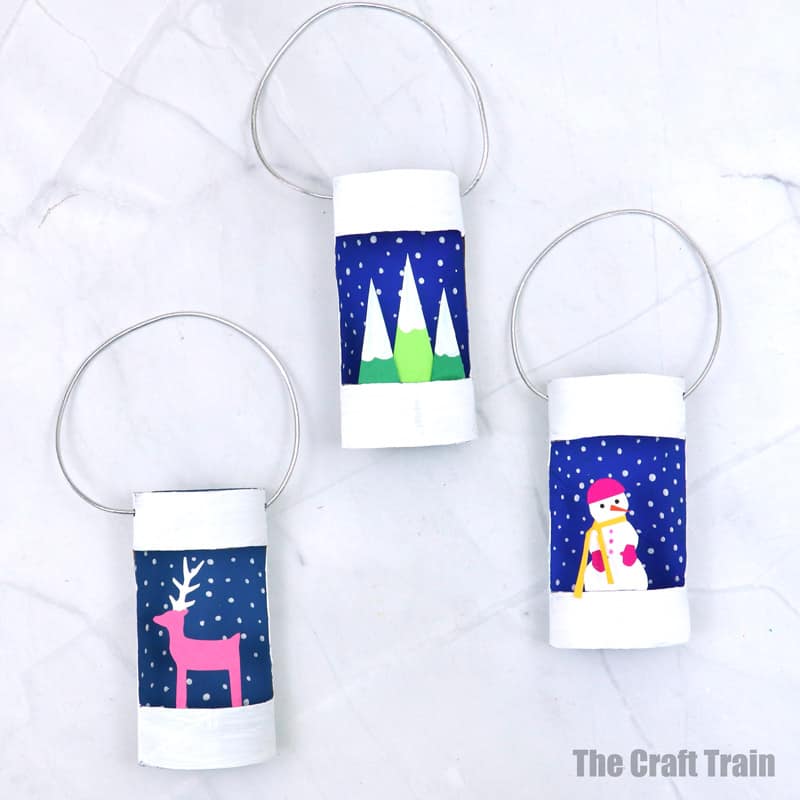
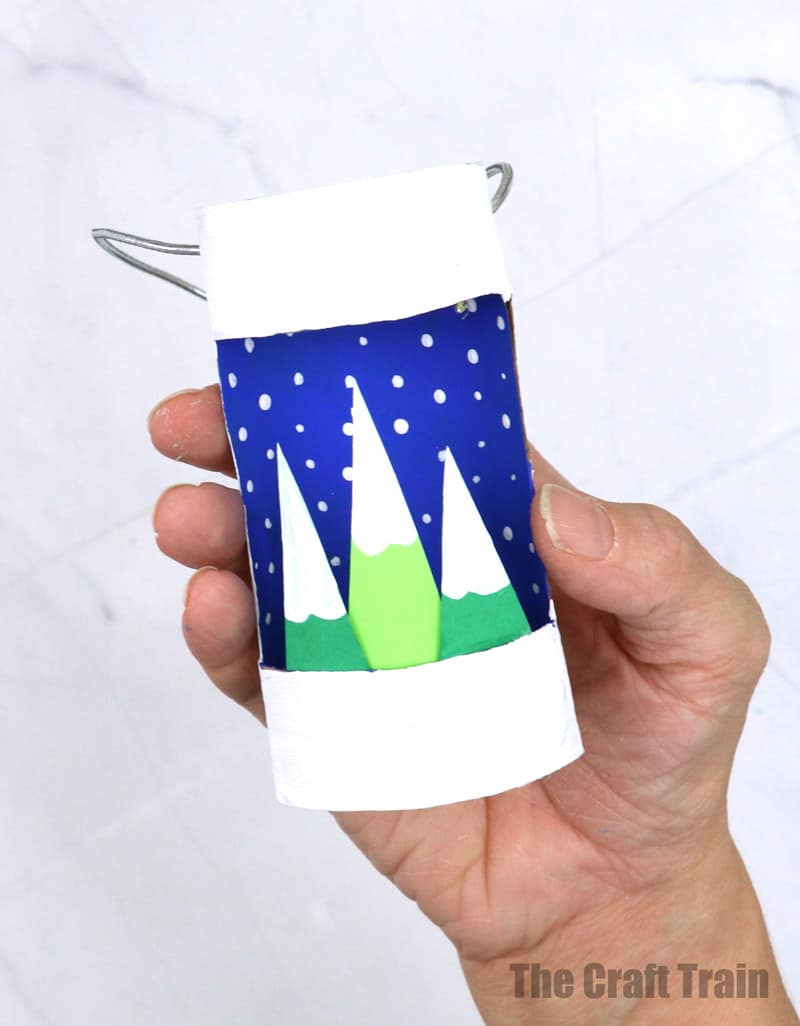
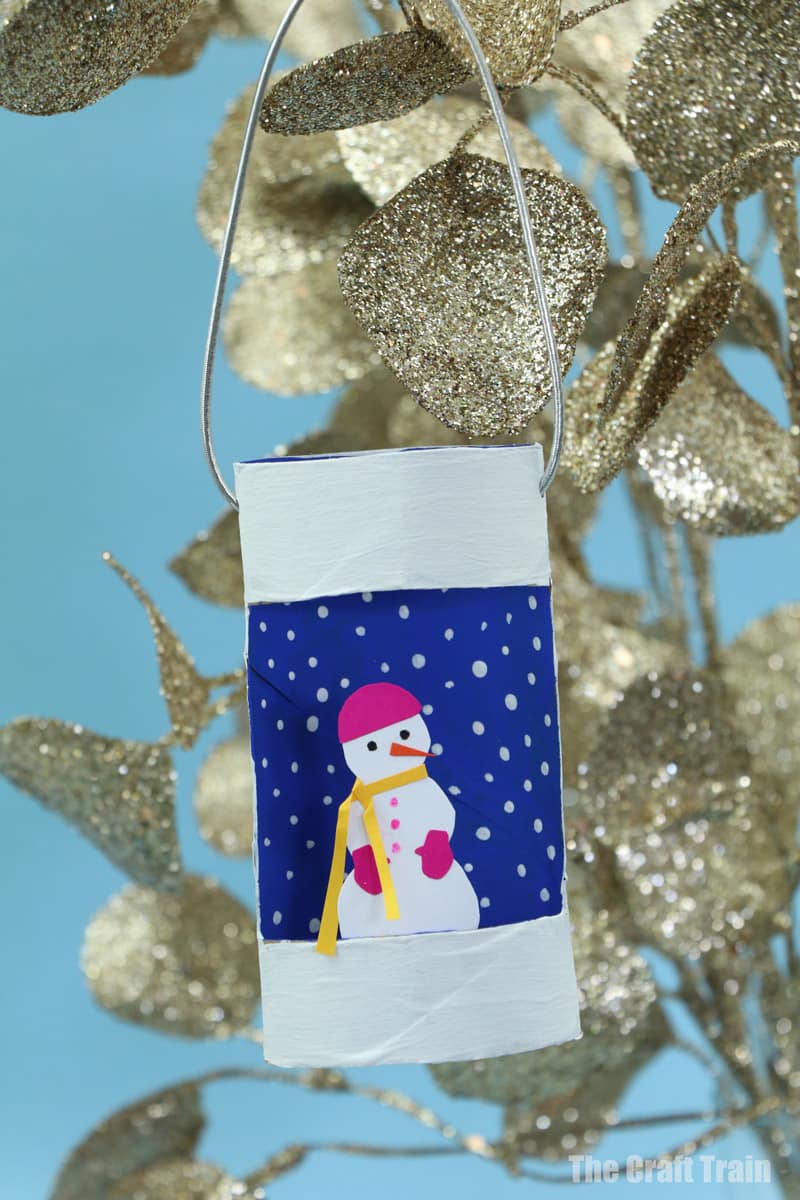
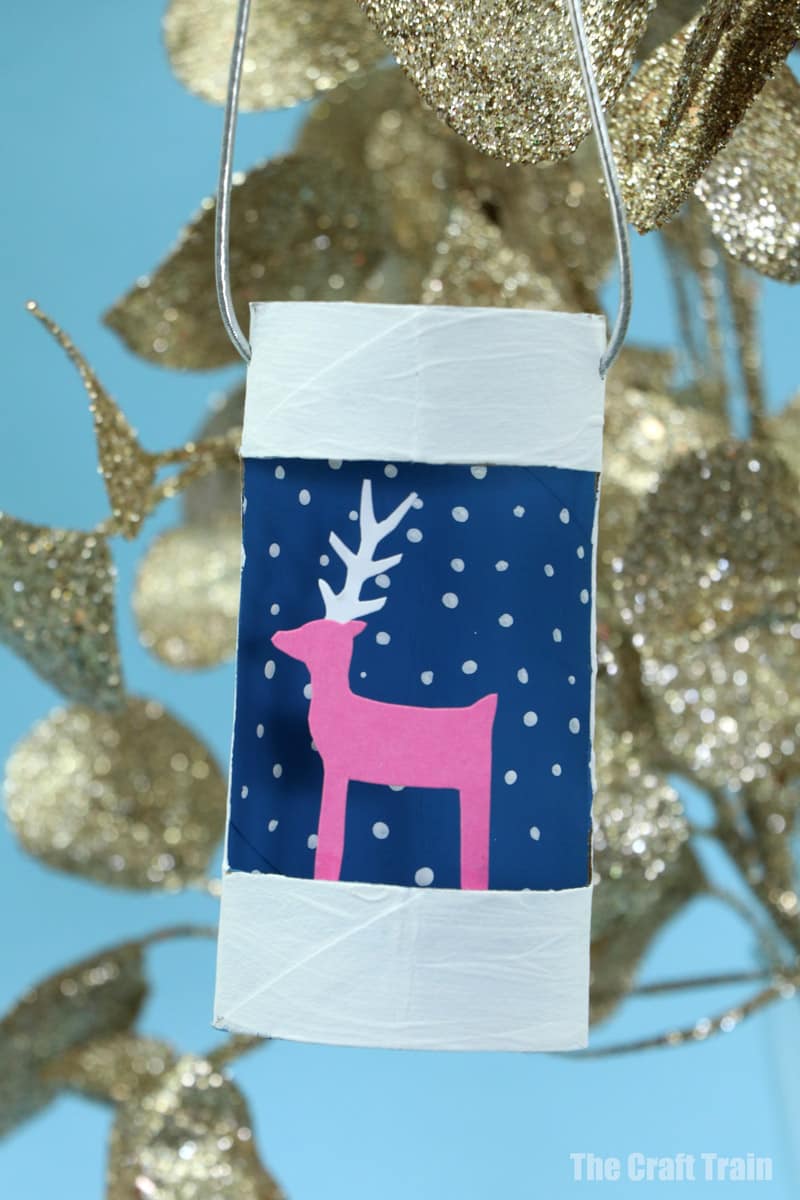
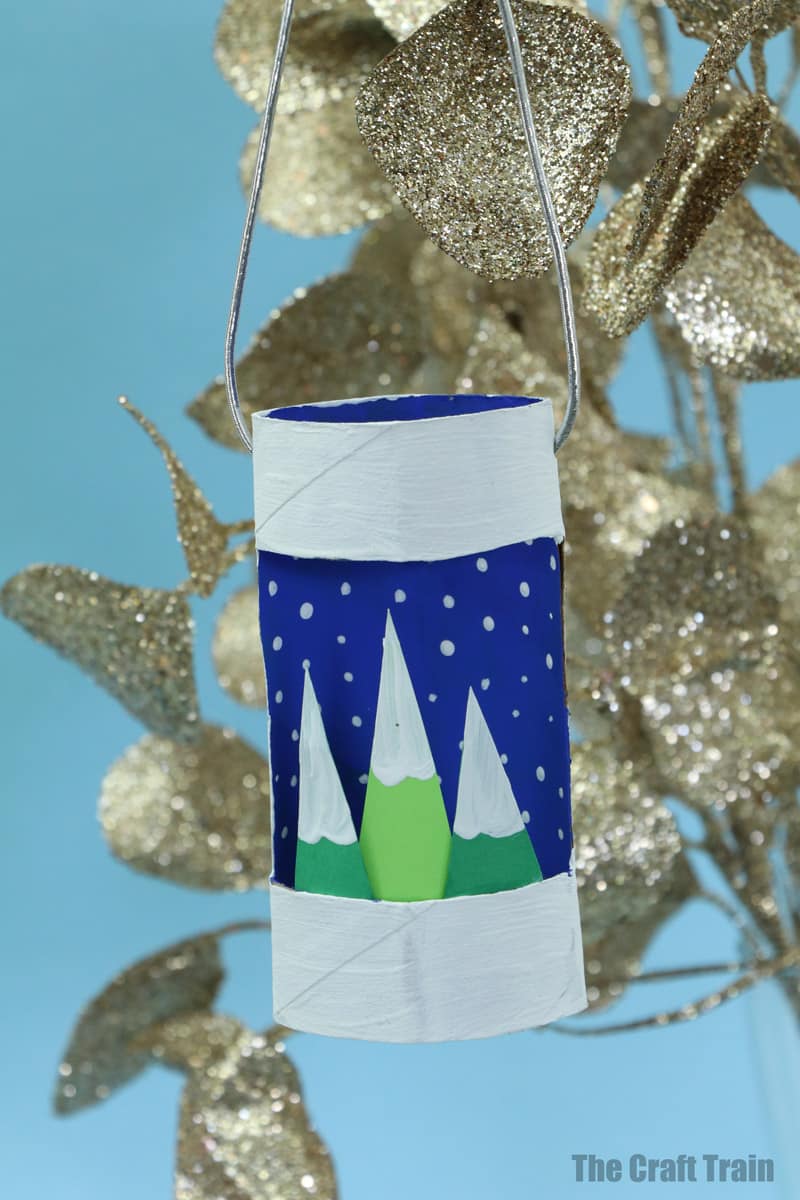
I’ve made a snowman, a reindeer, and a simple tree landscape. There is a free template available for these designs but it would also be a fun exercise for kids to design their own scenes.
The cutting out of the shapes on the template is fiddly because the pictures are so tiny, so younger kids might find it easiest to do the simple tree design.
You could even try printing out a small photo of your child dressed in a Winter outfit and sticking that into the scene instead of a picture.
These shadow boxes are super easy to make! Here’s how …
How to make easy Winter shadow box ornaments
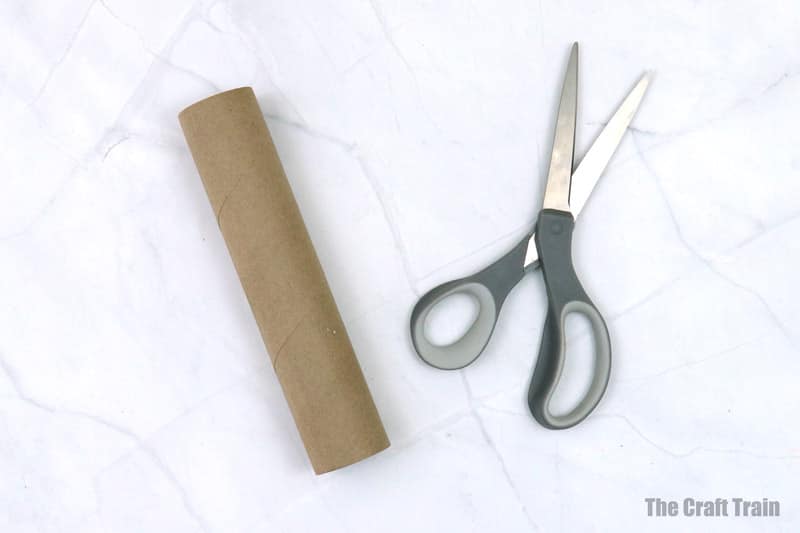
You will need:
- Paper rolls (either one toilet paper roll per ornament or a paper towel roll cut in half will make two ornaments)
- Dark blue and white paint
- Construction paper in card stock thickness — we’ve used dark green, light green, white and pink. You can even utilise the scraps left over from other projects since the pictures are very small
- Craft glue
- Ribbon, twine, or similar – we’ve used silver cord elastic
- Scissors
- Paint brushes
- Hole punch
How to:
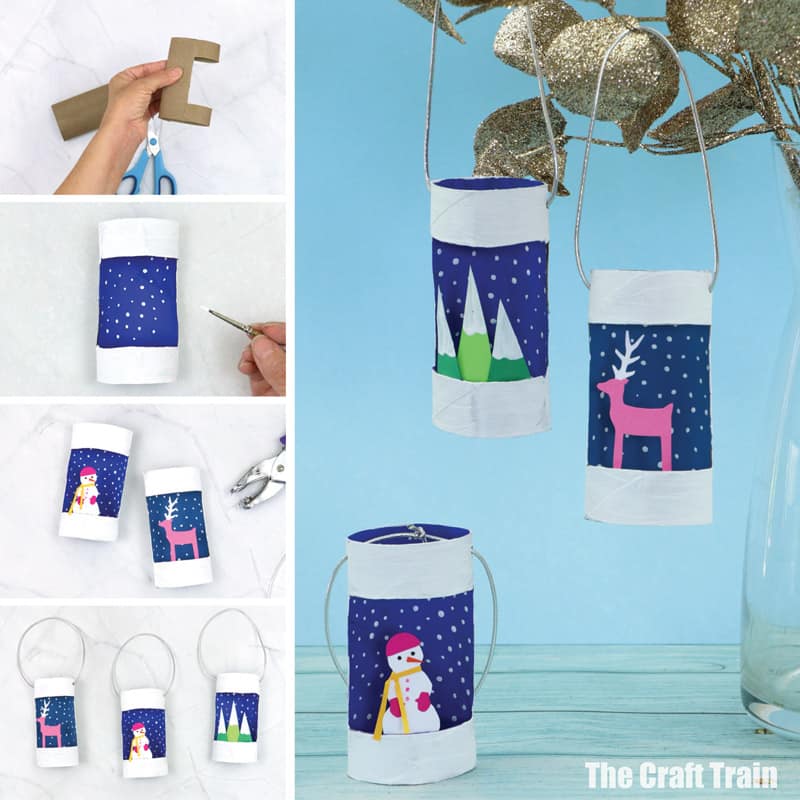
Flatten your paper roll. If you’re using a paper towel roll measure the halfway point and cut it in half.
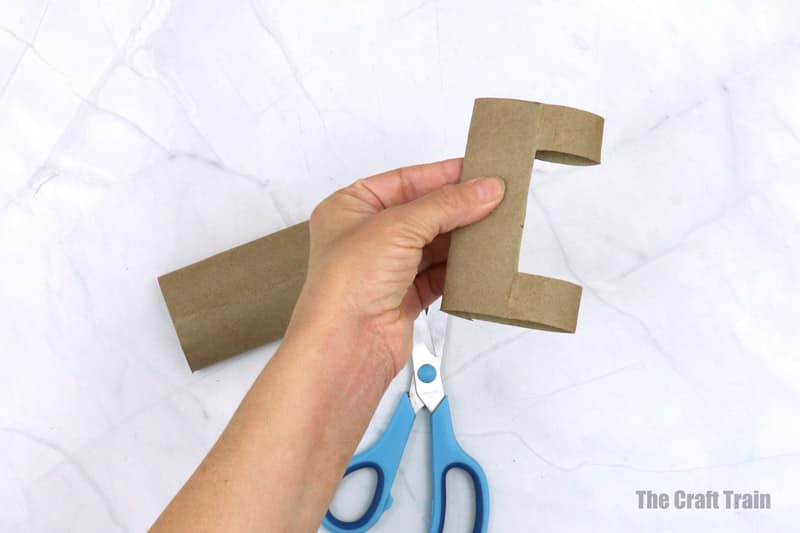
Unfold and flatten it so the original fold is in the centre. Use the centre fold as a guideline and cut two snips at the top and base to the centre line, then cut along the line so you have a framed ‘window’.
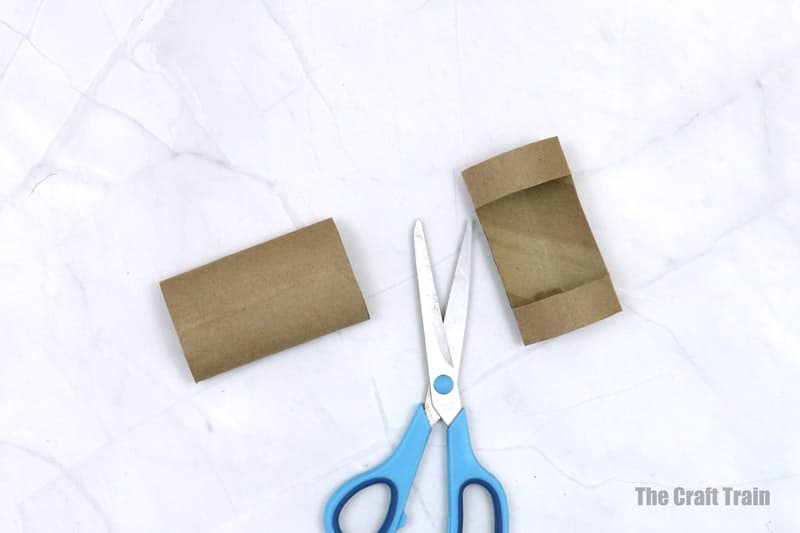
Pop into shadowbox shape, so the framed window is at the front and the roll is creased along the edges.
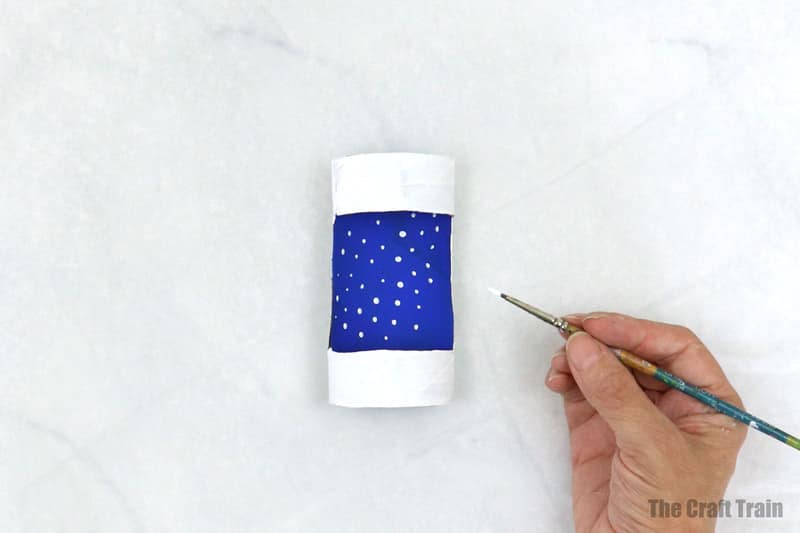
Paint the inside of your paper roll in dark blue. Paint the outside in white.
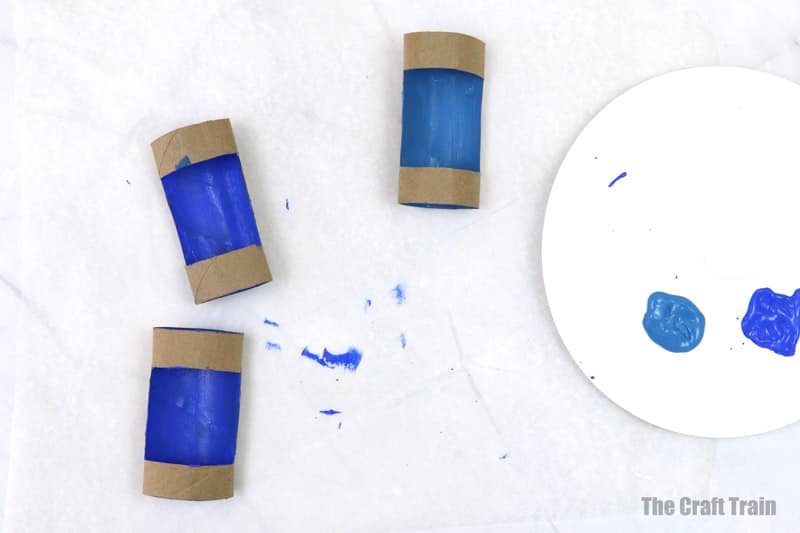
Once the inside is dry, dot some snow on the inside with a fine-tipped brush.
Select a design from the template or draw your own on card stock. To cut the template shapes out, it’s best to print to ordinary paper, then staple to a scrap of card stock in the colour you need before cutting out the shape.
For the snowman, add a carrot-shaped nose and thin strip of paper scarf yourself.
For the trees, paint the tops of the triangles white to look like snow.

Stick the scene design on the inside bottom edge of the paper roll frame.
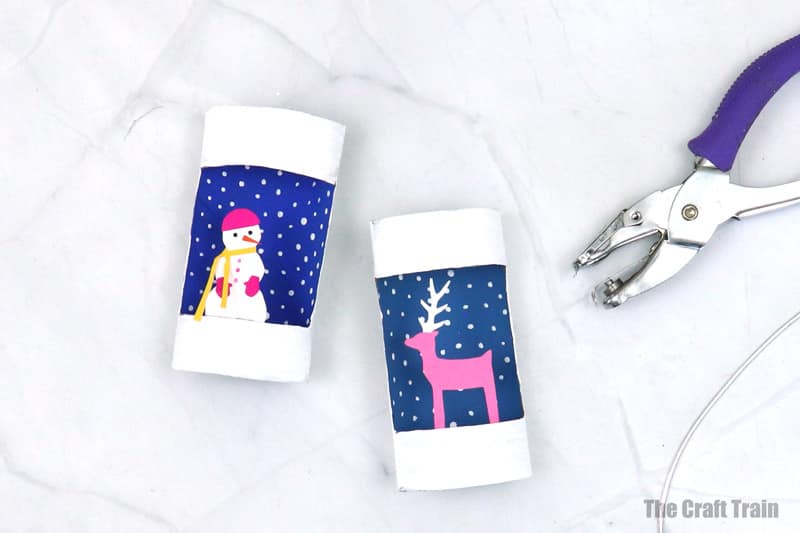
Punch a hole in each top edge and thread with ribbon, twine, or cord elastic.
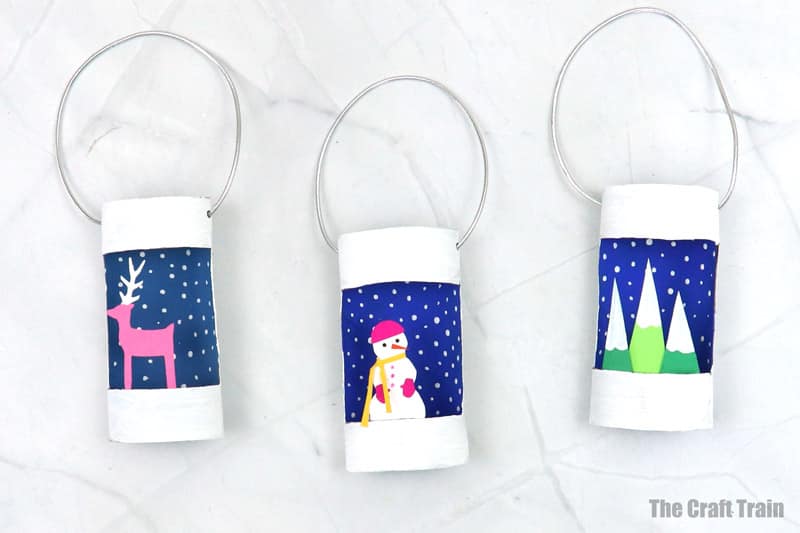
All done!
I love how these turned out — I think I have a new favourite paper roll craft!
More easy Christmas crafts for kids