This post may contain affiliate links. I may receive commissions for purchases made through links in this post at no cost to you.
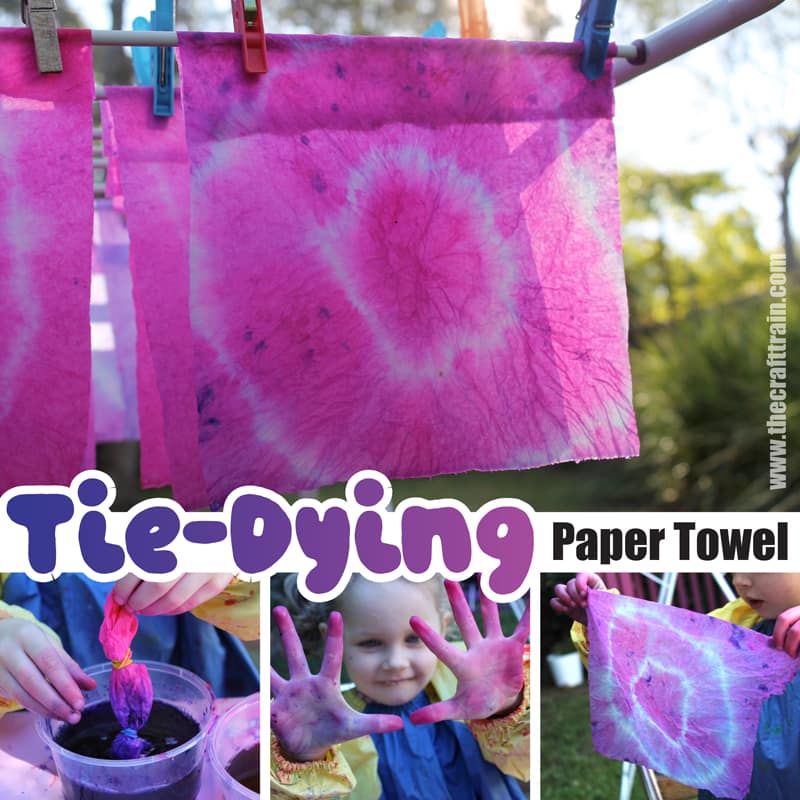
Tie dying paper towel is a fun and easy process art idea for kids of all ages. It’s similar to traditional tie dying, only cheaper, quicker and easier.
This kid’s art activity was first published in 2013 and has been updated and reshared for today’s audience.
You might also like these 80 Summer crafts and activities
Tie dying is lots of fun — I’ve done it with my big girls a few times — but it’s not really a craft I’d choose to do with younger kids.
Plus, it can get expensive with all the materials you need, and the dyed fabric needs to sit in plastic for 24 hours. That’s a long time to wait for the big reveal at the end! Way too long for a preschooler.
Here is a fun way to tie dye with paper towel. We’ve used food colouring for this version, but I recommend replacing this with liquid water colour paint instead. It’s far more washable when it gets on skin, clothing, and furniture. Food colour stains all three — badly!
However, if you wear old clothes and don’t mind your kids having blue hands for a day or two food colouring still works great.
This is a craft you need to take outdoors because it can get messy, and I’d also recommend wearing old clothing or a waterproof art smock, even if liquid watercolours are being used.
Tie dying paper towel art activity
You will need
- Paper towel – minimum 2 ply or it will tear and get ruined
- Rubber bands
- Food colouring or liquid watercolour paint (recommended for washability). Two to three colours that blend together well is plenty.
- Plastic containers and craft sticks or a teaspoon for stirring
- Art smocks and a protective plastic table cloth
- Drying rack (we used a clothes rack)
How To:
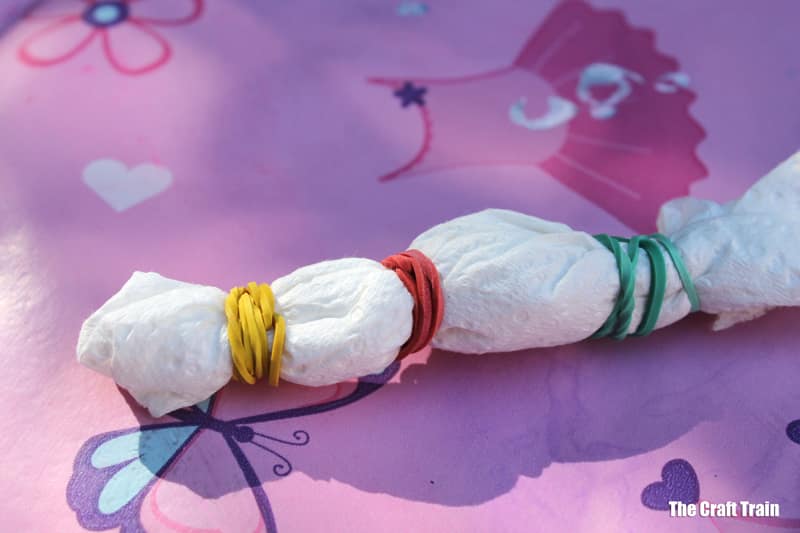
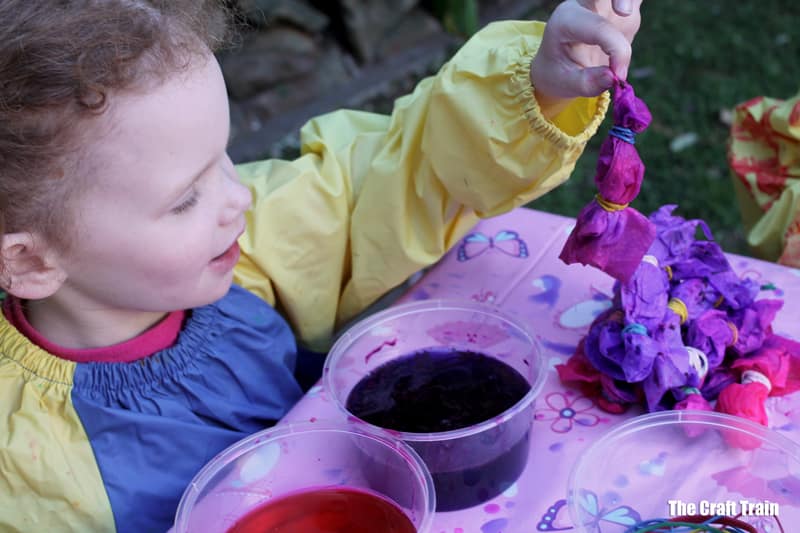
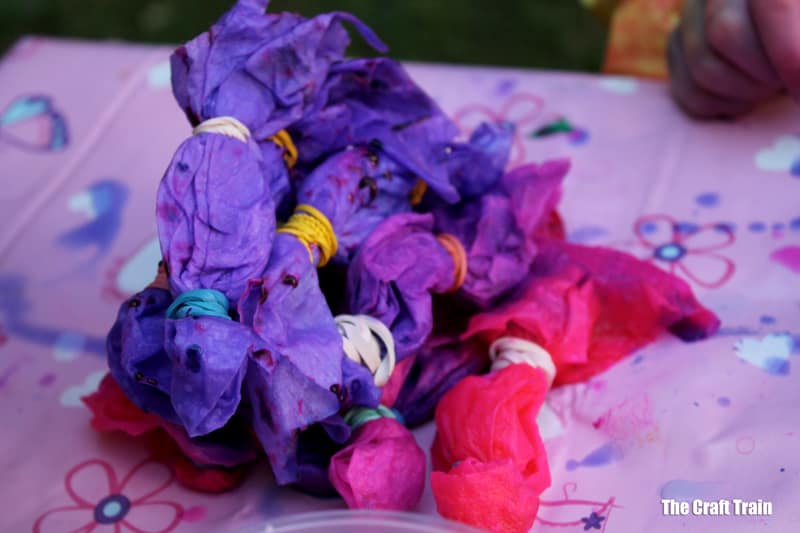
Prepare the paper towel in advance, I created a large pile for the girls. fold and scrunch each sheet into a skinny worm and tie it tightly with rubber bands to make the pattern. Two or three rubber bands per piece works well.
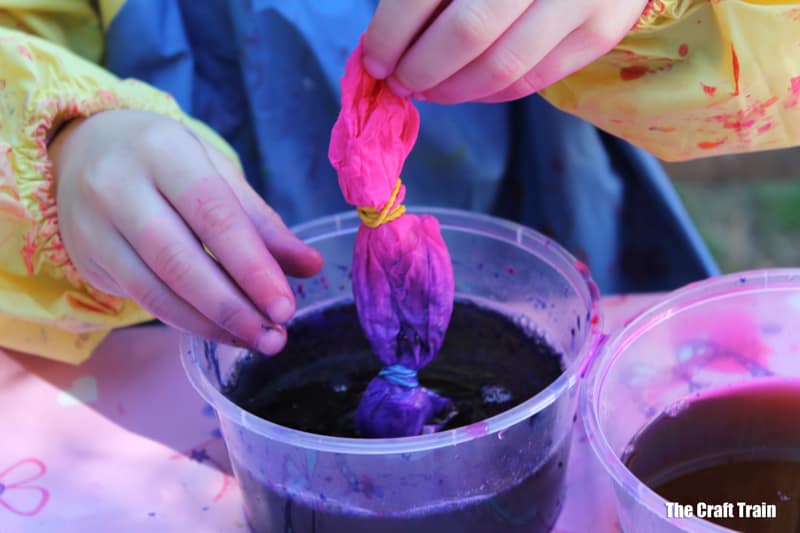
Add a generous amount of the colouring to the water and mix with a craft stick or a tea spoon. The kids loved stirring it in and watching the water change colour. If you’re using liquid watercolour, we’ve found that using the paint undiluted works best.

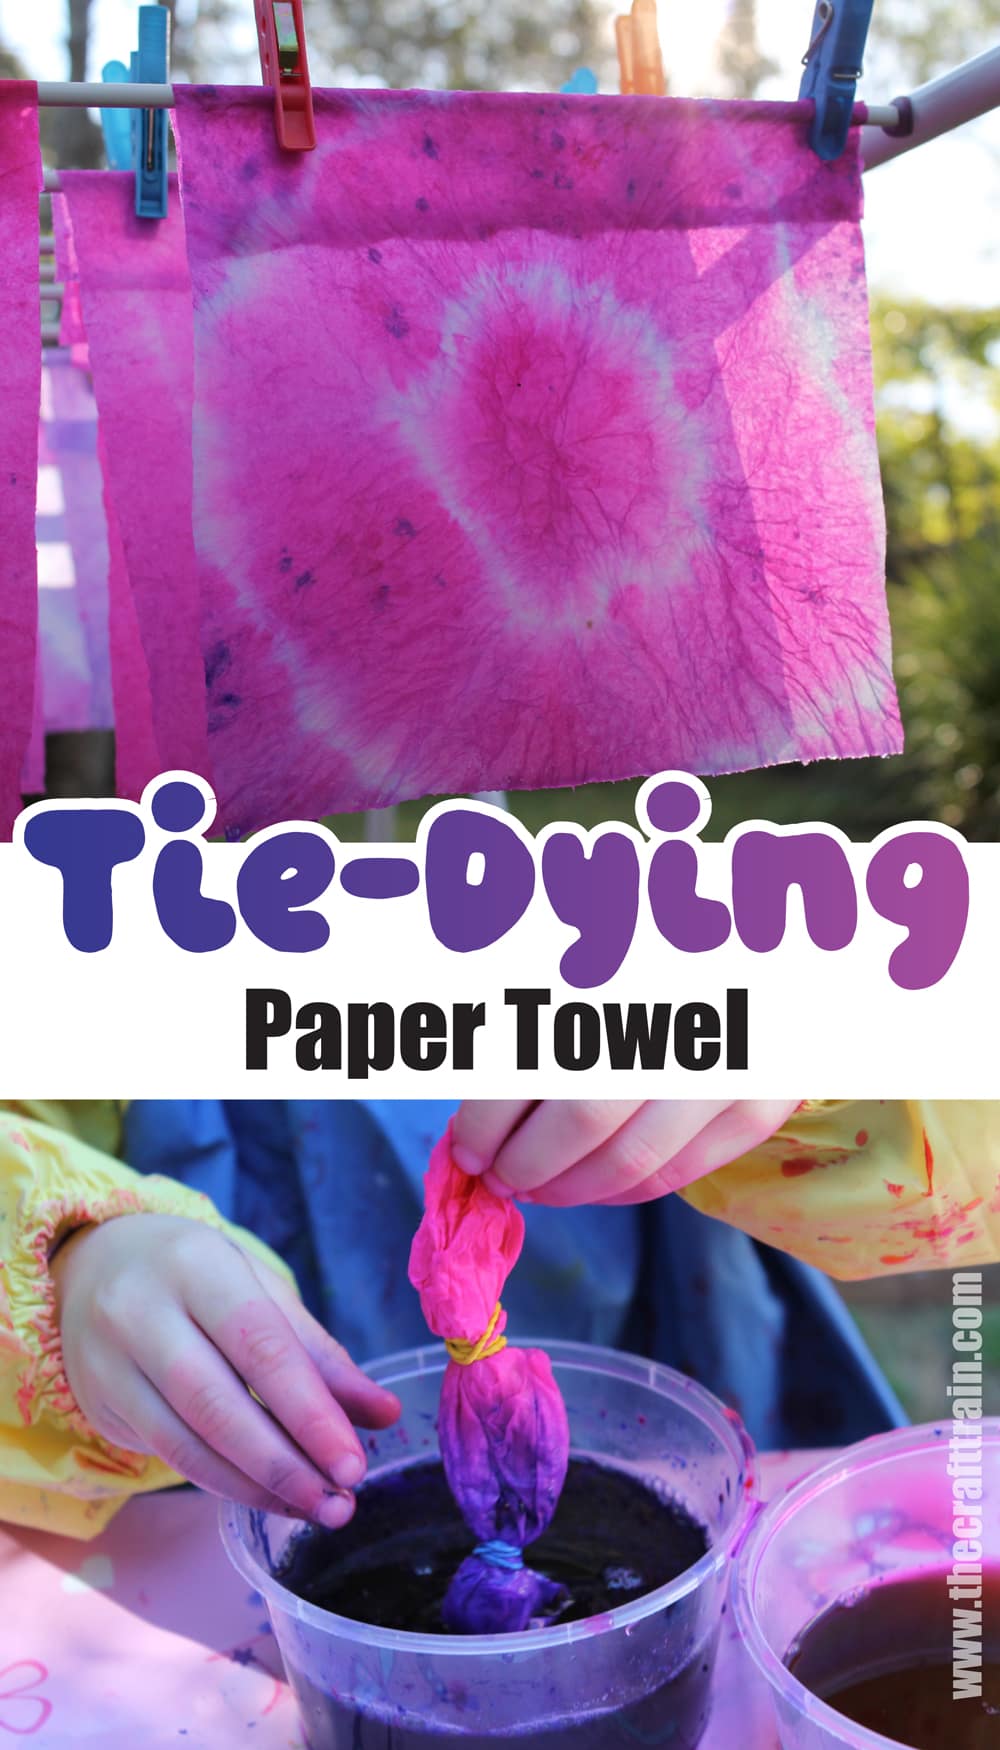
Dip one end in one colour, and the other in a different colour.
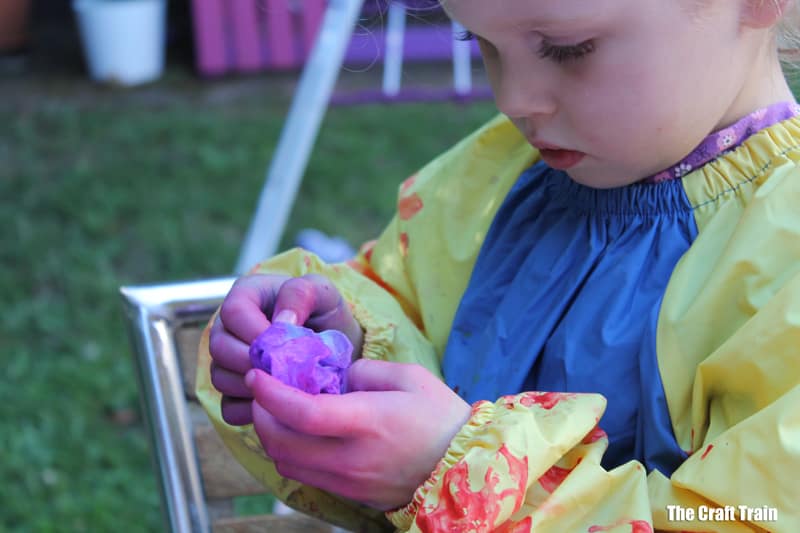
Now it’s time for the reveal! This is the most fun, and kids will love seeing the designs they’ve created.
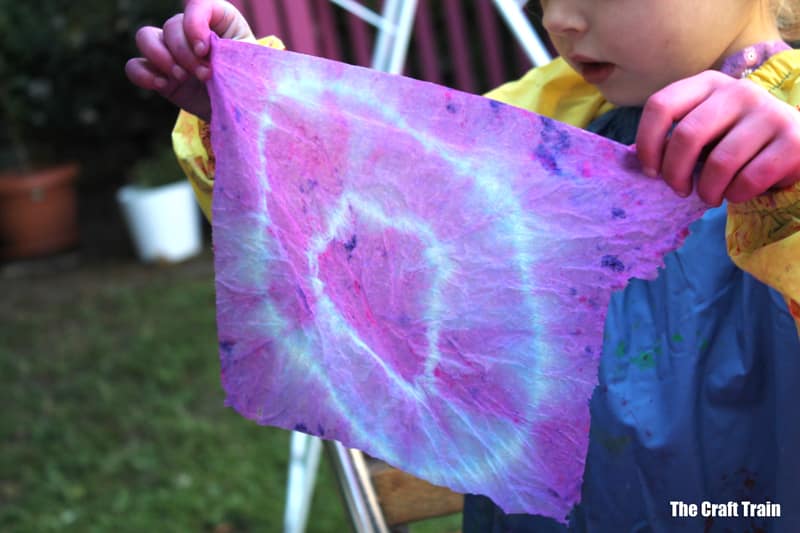
Hang the finished paper towel on your drying rack with pegs.
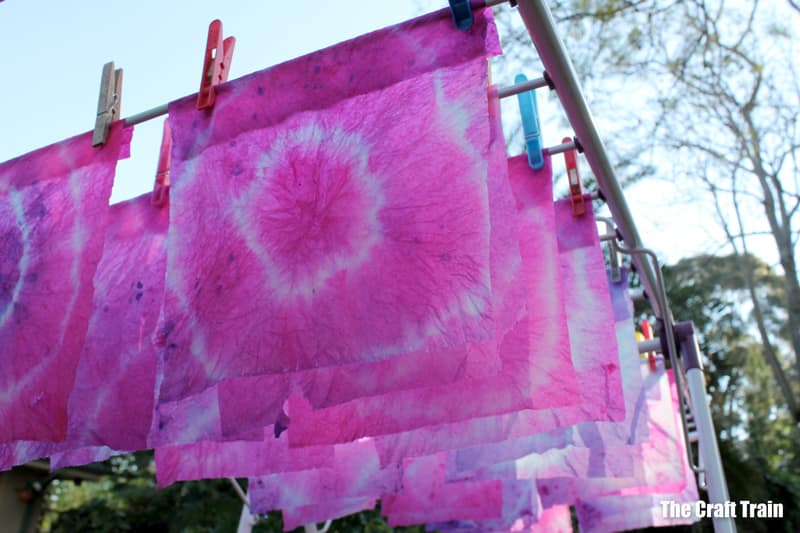
We were super pleased with the results! You can get creative with your finished art and incorporate it into other projects.
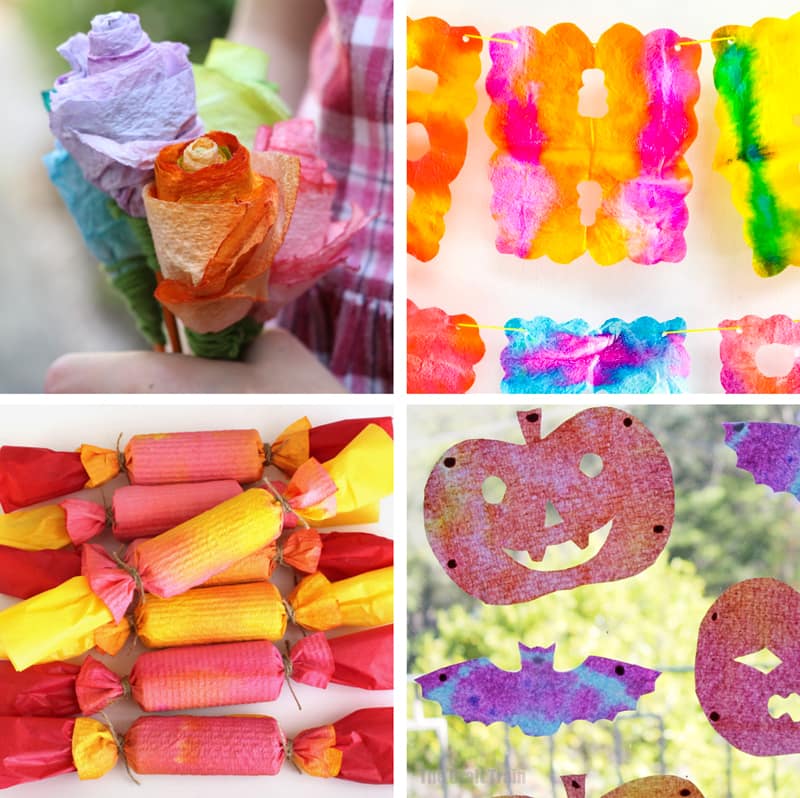
What to make from paper towel art
Here are a few paper towel craft ideas to get you started.
You might also like to try scrunch dying paper towel.