This post may contain affiliate links. I may receive commissions for purchases made through links in this post at no cost to you.
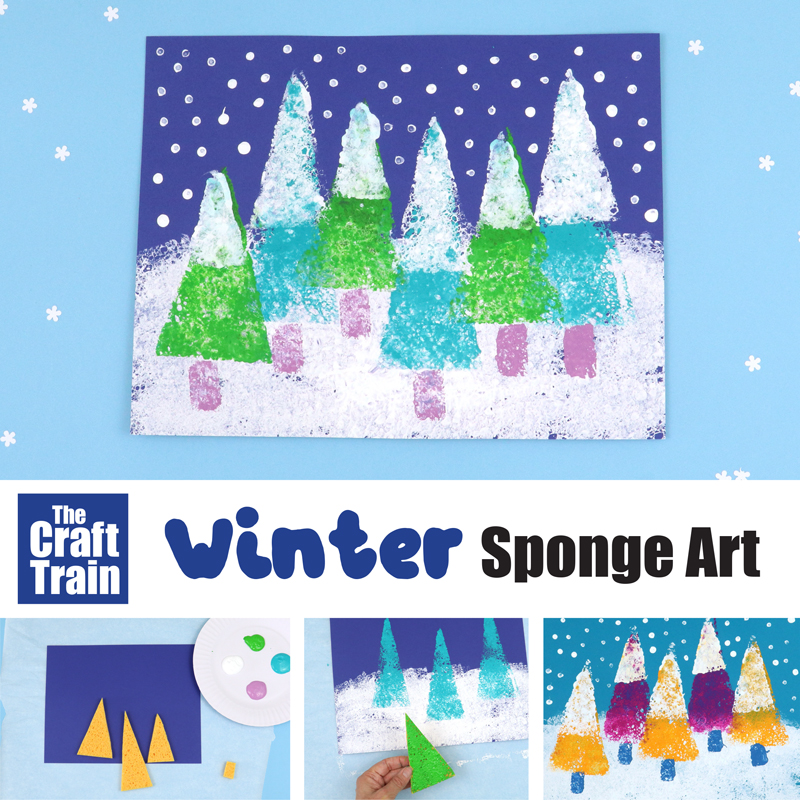
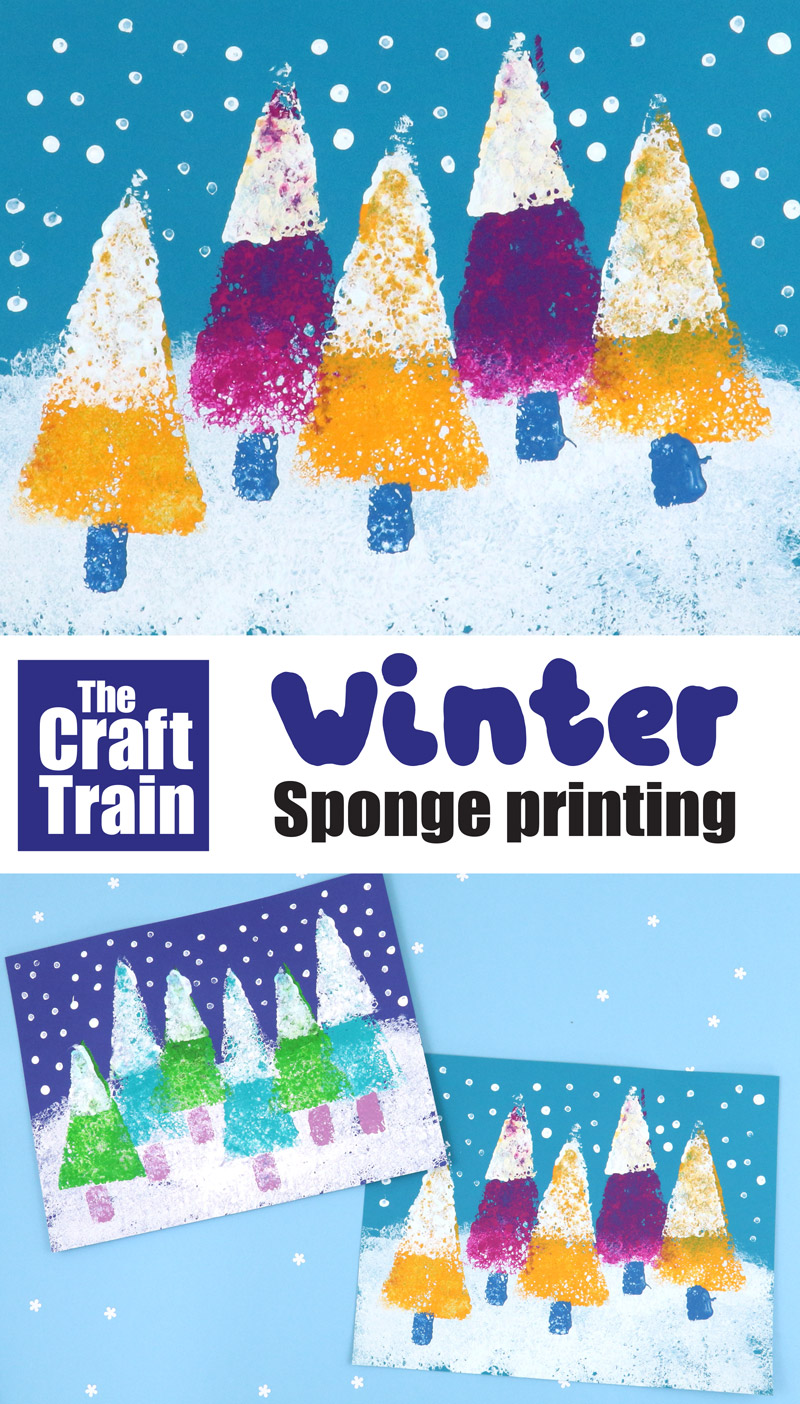
Create a gorgeous Winter landscape using a sponge printing technique. This is a fun and easy Winter art idea for all age groups and looks great as wall art too.
You might also like our 3D paper snowman
I have a thing for sponge printing, I don’t know why. In the past we’ve made flower prints, butterfly prints, geometric art and even kaleidoscope art (that one’s especially fun!). Now today we’re printing a Winter landscape.
I love the textural effect the sponge stamps create, and also the simplicity of printing.
In this activity, the triangular stamps are too large to dip in the paint, unless you want to put a ginormous amount out in the tray. For one person this is a waste of paint, however, if you’re working with a group of children it might be more feasible. Instead, I’ve used a thick brush to apply paint to the stamp before printing.
You can use more realistic colours for your landscape if you like, but I decided to go bold and brighten mine up with pink, yellow and purple as well as green for the trees. When it’s dark and grey outside a bit of colour goes a long way.
Lots of you already know that I’m an Australian and it’s actually mid-summer here. We’ve been having a blessedly-wet and overcast season which I’m loving after the droughts and fires of 2019-2020. So it’s wet and cool here too, but the main reason I’m sharing this Winter art activity is for all of our lovely Northern hemisphere readers who are stuck indoors right now.
Winter books for kids
Are you ready to decorate your home with some colourful Winter art? Here’s how to make it…
How to make Winter landscape art with sponge printing
You will need
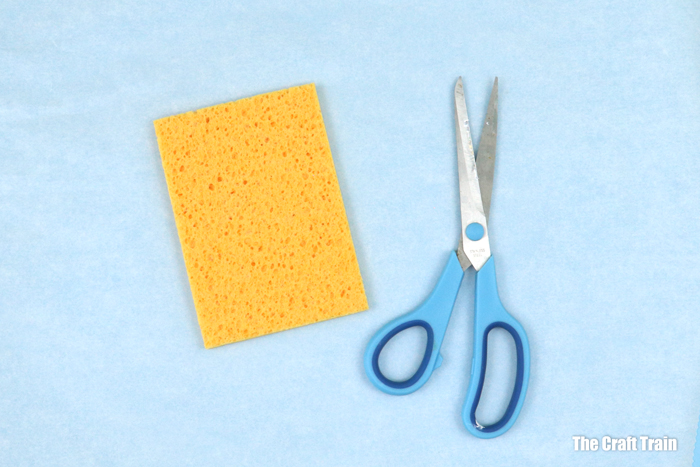
- Kitchen sponges – I’ve cut up two sponges to make the stamps for one artwork. If you’re working with a group of kids they could share the stamps though. You can rinse the stamps under running water and reuse with a different colour too
- Acrylic or poster paint
- Card stock in any shade of blue or grey
- A cotton bud or Q-tip
How to
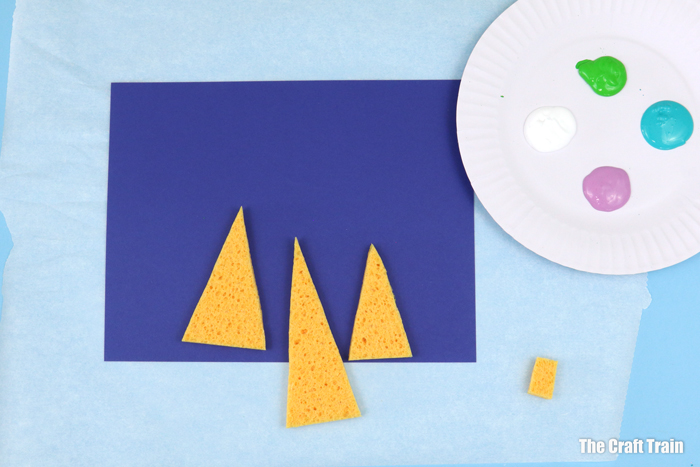
- Cut your kitchen sponge into triangle tree shapes. You will need three triangle shapes in total: a tall one, a shorter one, and a smaller triangle that just fits over the top of both trees to print the snowy tops. You also need to cut a small rectangle for the trunk stamps, and reserve a square to print the snowy ground with.
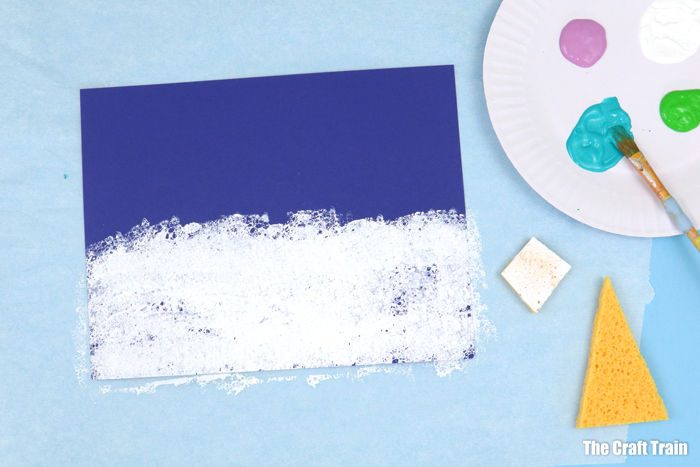
- Use a square of sponge to dab a snowy ground onto your piece of card stock. Cover the bottom half of it in white paint.
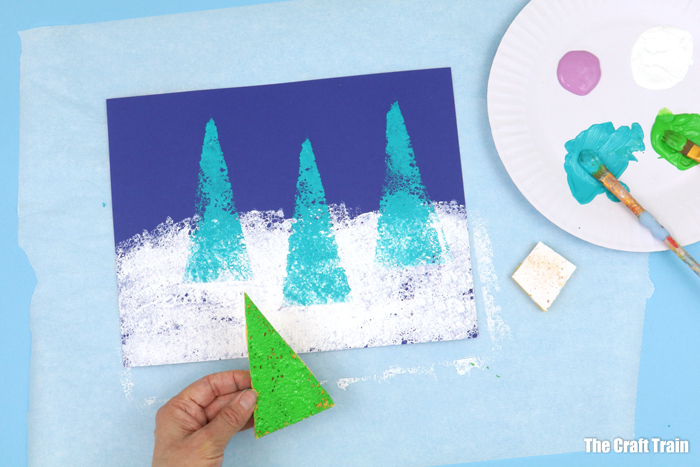
- Use a paintbrush to cover the large triangle with a bright colour. Print two or three trees onto the page. You can put them on the horizon or overlap the white paint to bring the trees into the foreground – it’s up to you. If needed, you can apply more paint to the stamp.
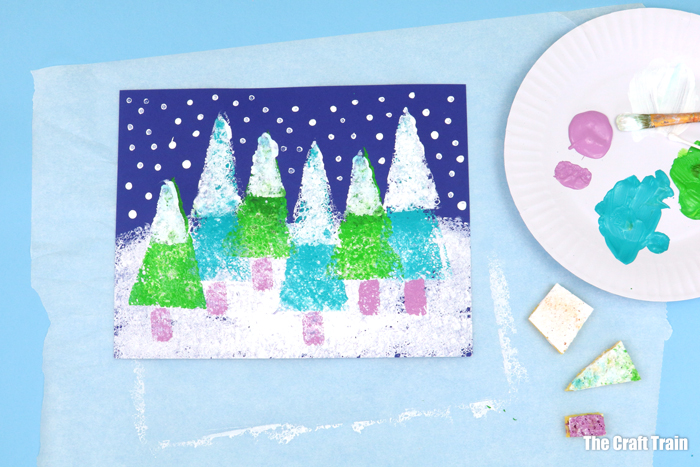
- Now cover the shorter tree with a different bright colour, and use this to stamp some more triangles onto your landscape.
- Take the smaller triangle and cover it in white paint. Print this over the top of the trees. There is no need to let the paint dry first, a little bit of colour mixing and colour showing through the white adds to the effect. For the shorter trees, I cut the triangle down shorter so the snowy section wasn’t as large on them (but this step is totally optional).
- Use the rectangular piece to stamp tree trunks under all of the trees.
- Use a cotton bud or Q-tip to dot snow all around.
See, told you it was easy!
More Winter art and craft ideas for kids