
This post may contain affiliate links. I may receive commissions for purchases made through links in this post at no cost to you.
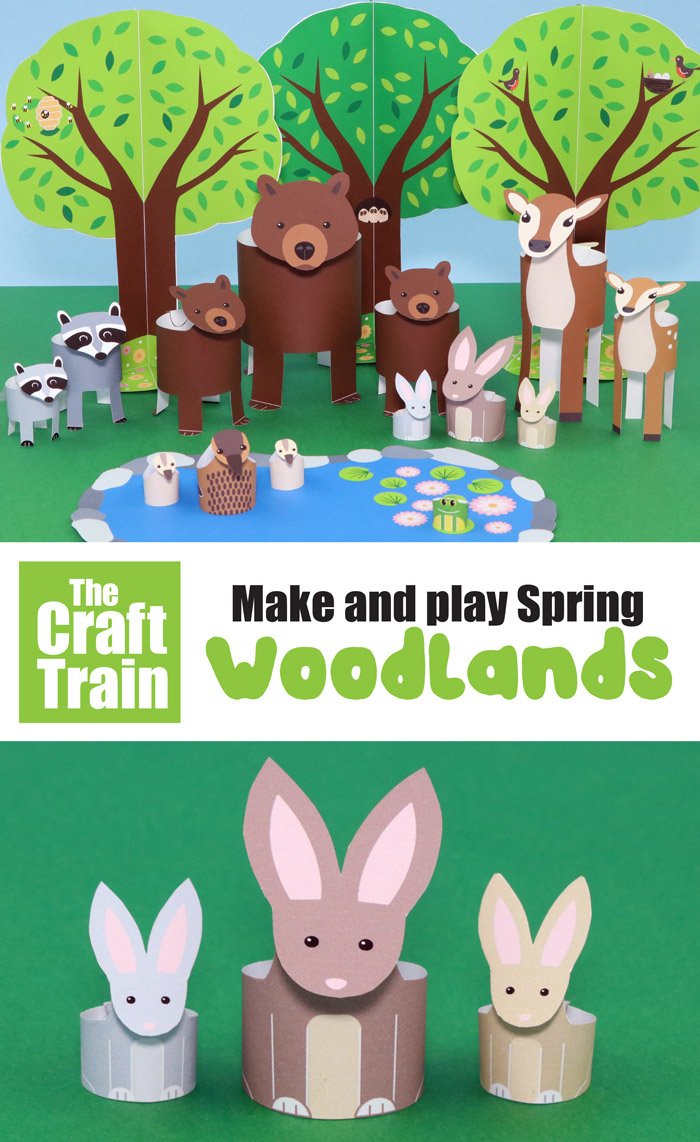
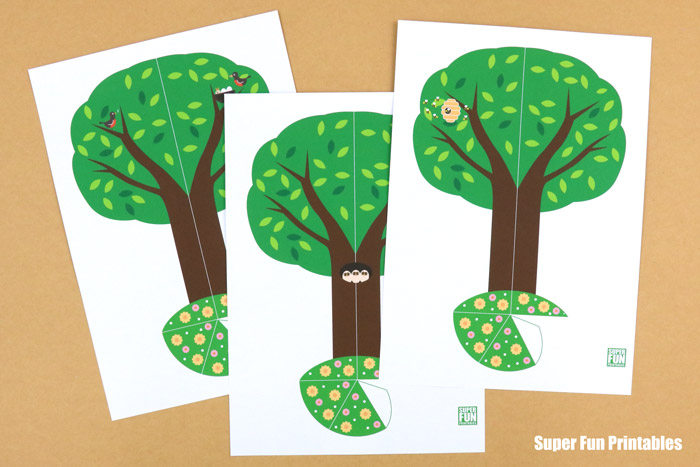
Print and create a woodland scene Spring papercraft using our latest template.
The finished craft becomes a DIY paper toy designed to inspire imaginary play. It also makes a cute Springtime decoration.
Last year I designed a Woodland animals in Fall papercraft. It includes trees in Autumn hues along with some of the animals you see featured here.
Well, the seasons have turned. The animals have either slept through or endured a long, cold Winter and now Spring is here!
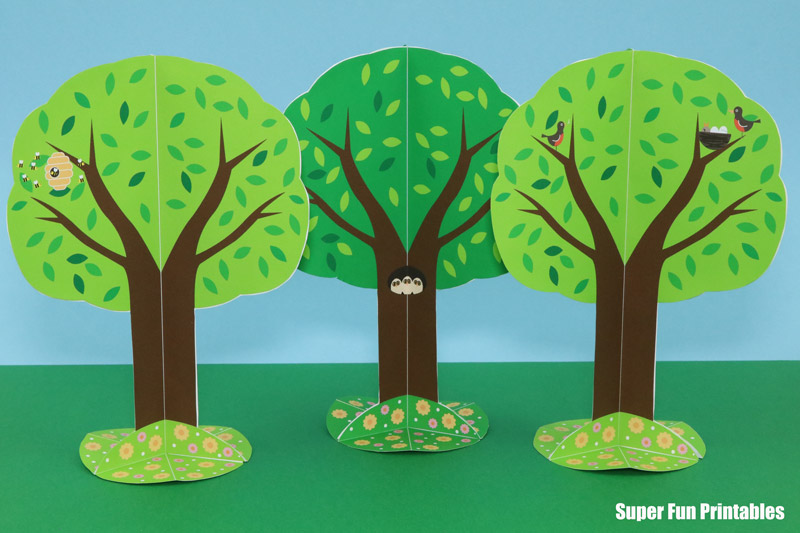
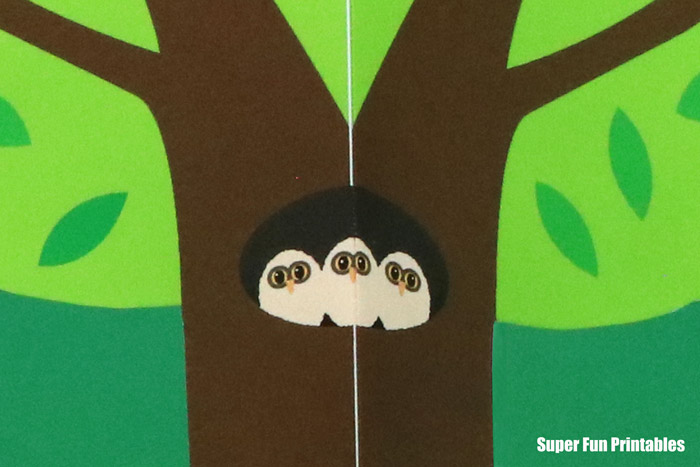
The trees are green with new growth. Their branches support nesting birds and beehives, and you might even spot some baby owls in the tree hollows.
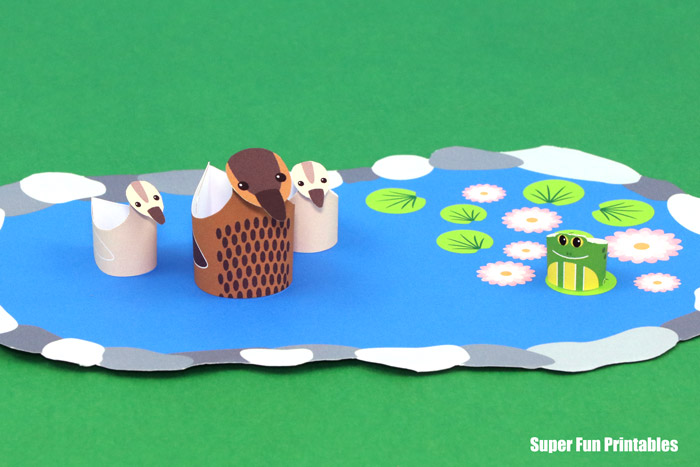
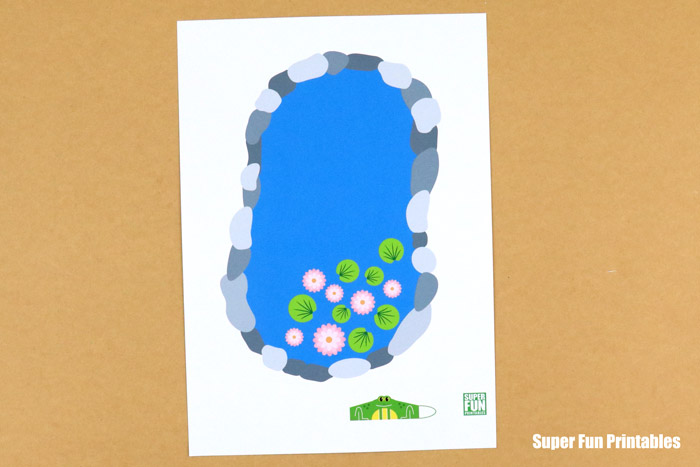
Lily pads and lotus flowers bloom in the pond and there is a little green frog to enjoy them. He has to share his home with some ducks though.
But, the best thing about Spring is all the baby animals …
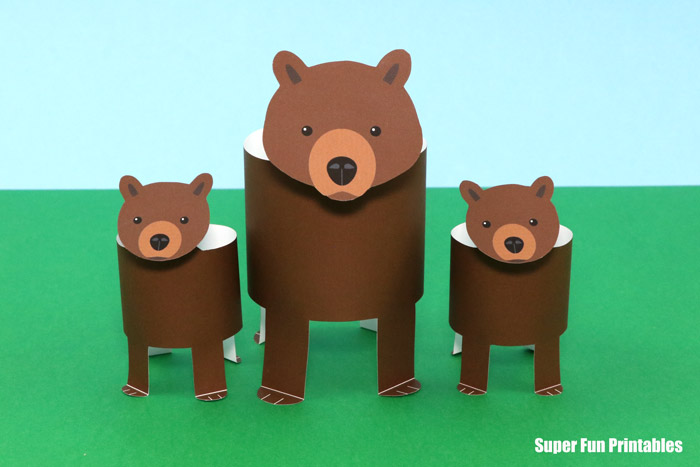
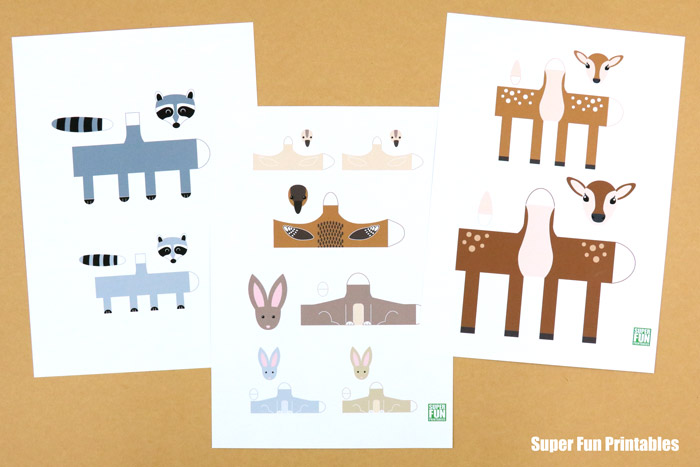
The mother duck has some ducklings, and there’s a mother bear with twin cubs.
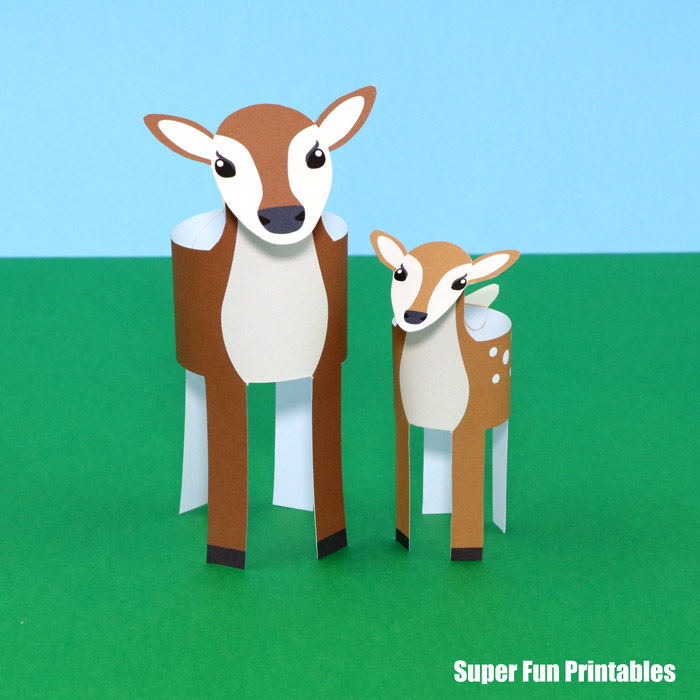
There’s a doe with her fawn.
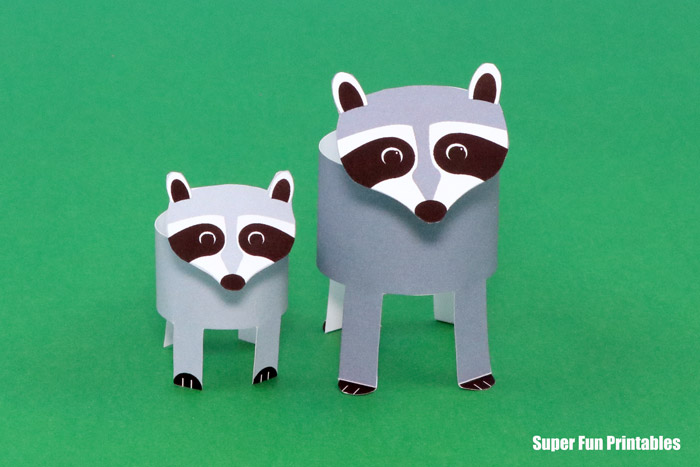
Plus a raccoon with her kit.
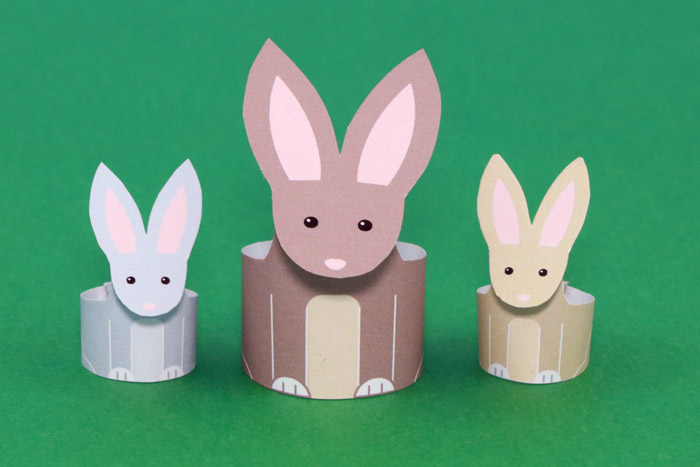
And who could forget the bunnies in Spring?
It’s possible I got a little carried away designing this one, so I can’t promise you can make it in a flash, haha.
However, if you’d like a Spring-themed project to keep the kids busy for an afternoon and make a small world from paper in the process then this is for you.
If you’d like to turn it into a real labor of love (keeping the kids busy for even longer), we also have a color-your-own version.
It’s recommended for these templates to be printed onto card stock for sturdiness and durability. If you have no card stock, ordinary paper will still work but the paper animals will be more flimsy so the legs may warp, (especially on the larger animals).
How to make the woodland Spring papercraft
You will need:
- The Spring woodland template printed onto card stock
- Glue stick
- Scissors
- Scoring tool or blunt butter knife
- Ruler
- Pencils or felt tip markers if making the color-your-own version
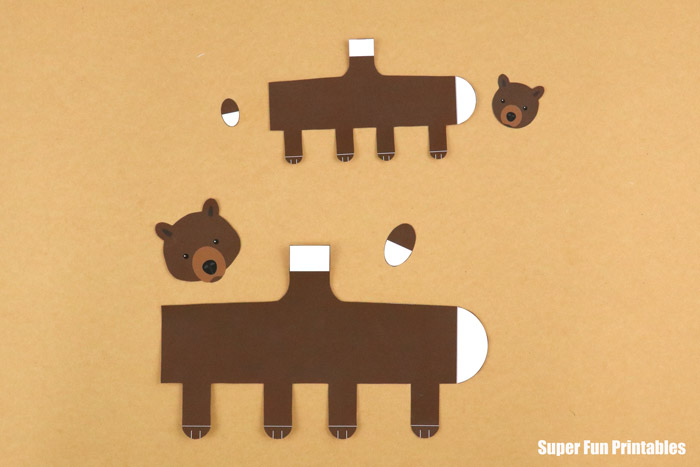
Making the animals
- Score the fold lines along the neck, tail and feet for the animals which have paws that fold (the bear and raccoon)
- Cut out the shapes
- Fold the neck tab down and the paws forward if the animal has feet
- Bend into a cylinder shape and glue the tab to hold in place. For the duck, fold the tab at the tail end to give it’s body a duck shape
- Glue on the head, as well as the tail for the animals who have one
Making the pond
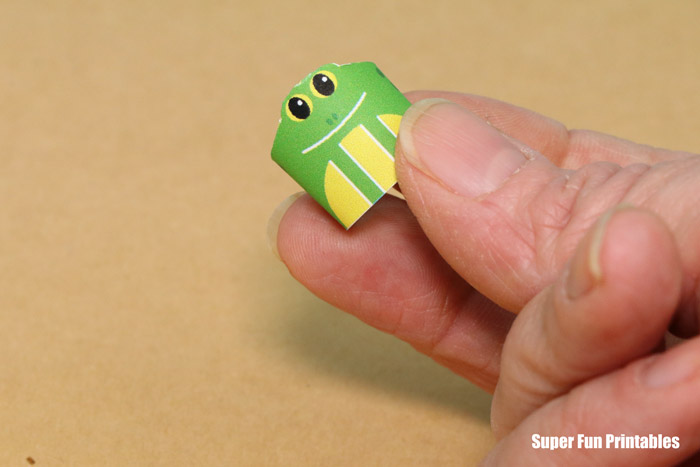
Cut out the shape and lay flat on the ground. Cut out the frog and glue into a cylinder shape.
Making the trees
- Each tree has three panels of the same color which are all slightly different, but the basic shape is the same so you can mix and match if you wish
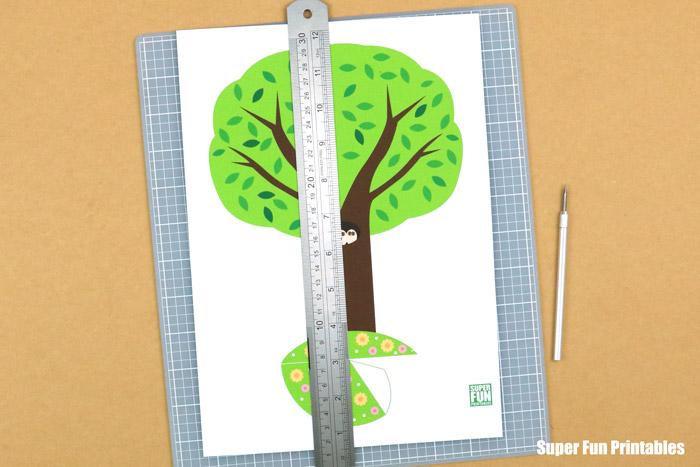
- Score along all of the fold lines
- Cut out the trees and fold along all the lines
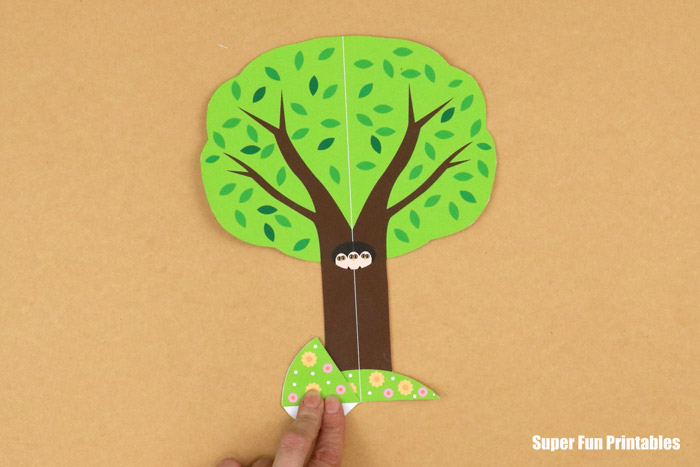
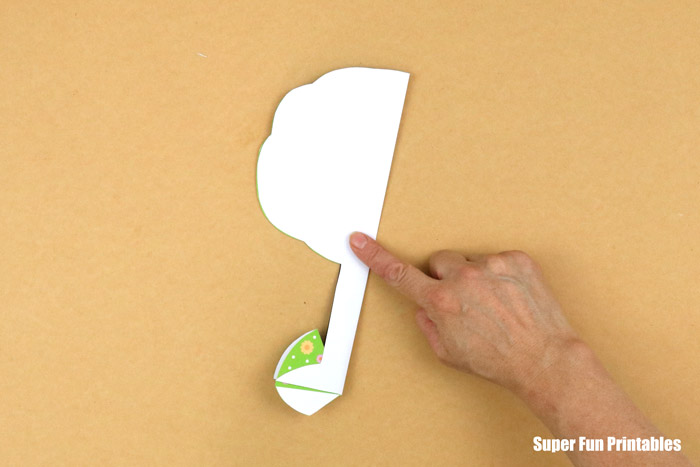
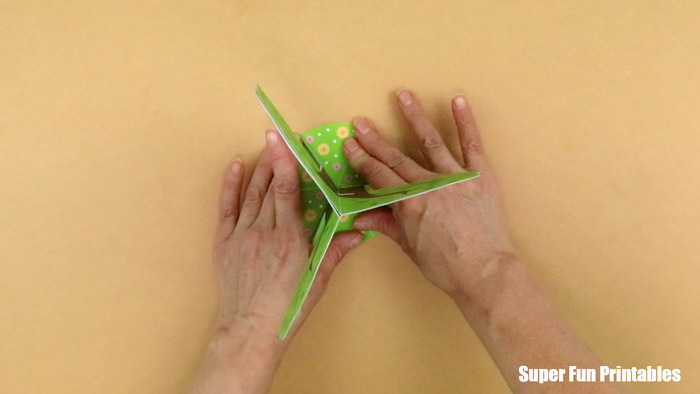
- Fold the bottom section along the horizontal line up, then fold the line at an angle back down so it lines up with the horizontal fold. Fold the tree down the center and glue the tab over the back
- Repeat with the other two sections of tree, then glue each folded section on top of each other
- Place glue on the blank side on top of the stack, then glue into a tree shape. Once it’s been glued into a tree shape it will no longer fold flat
All of these instructions, complete with pictures, are included in the template available in our printables store.
I hope you guys have fun making your Spring papercraft!
More woodland animal craft ideas
